
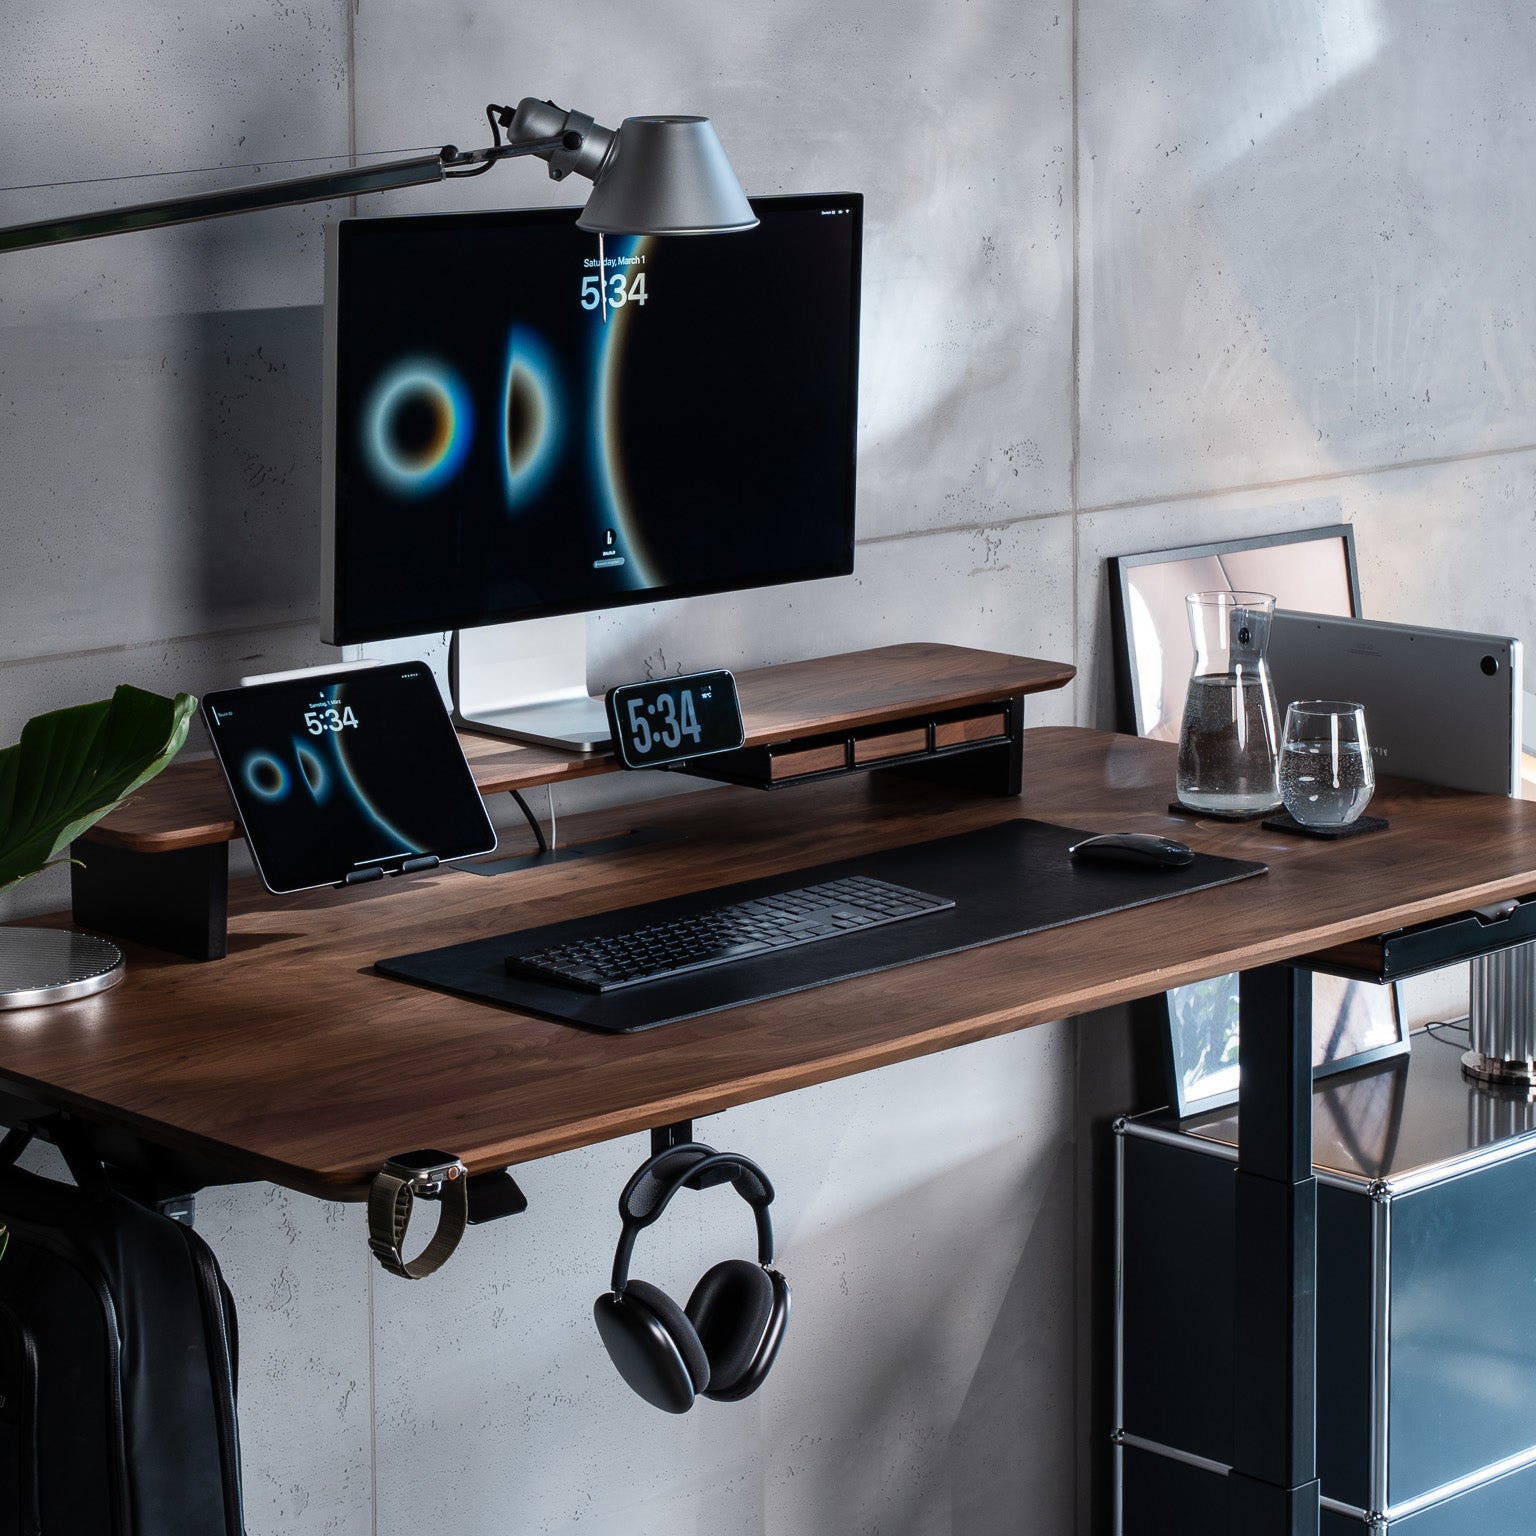


Desk Cockpit
The desk that grows with you.

Instructions Step by Step
- Unpack the tabletop (A) with the help of a second person and place it face down on a soft surface. Do not remove the foam foil completely to avoid scratches.
- Assemble the inner and outer rails (B), align them on the table top (A) and screw it tight with the screws and washers (C) in the pre-drilled holes using the bit (C). Lock the top frame with the black clips (B).
- Place the lifting columns (D) in the top frame with the clamps (B) and kick lock (B). Click into place.
- Variant 1: Click the click on feet (E) onto the lifting columns. / Variant 2: Use the included Allen wrench and screws to attach the feet (E) to the lifting columns.
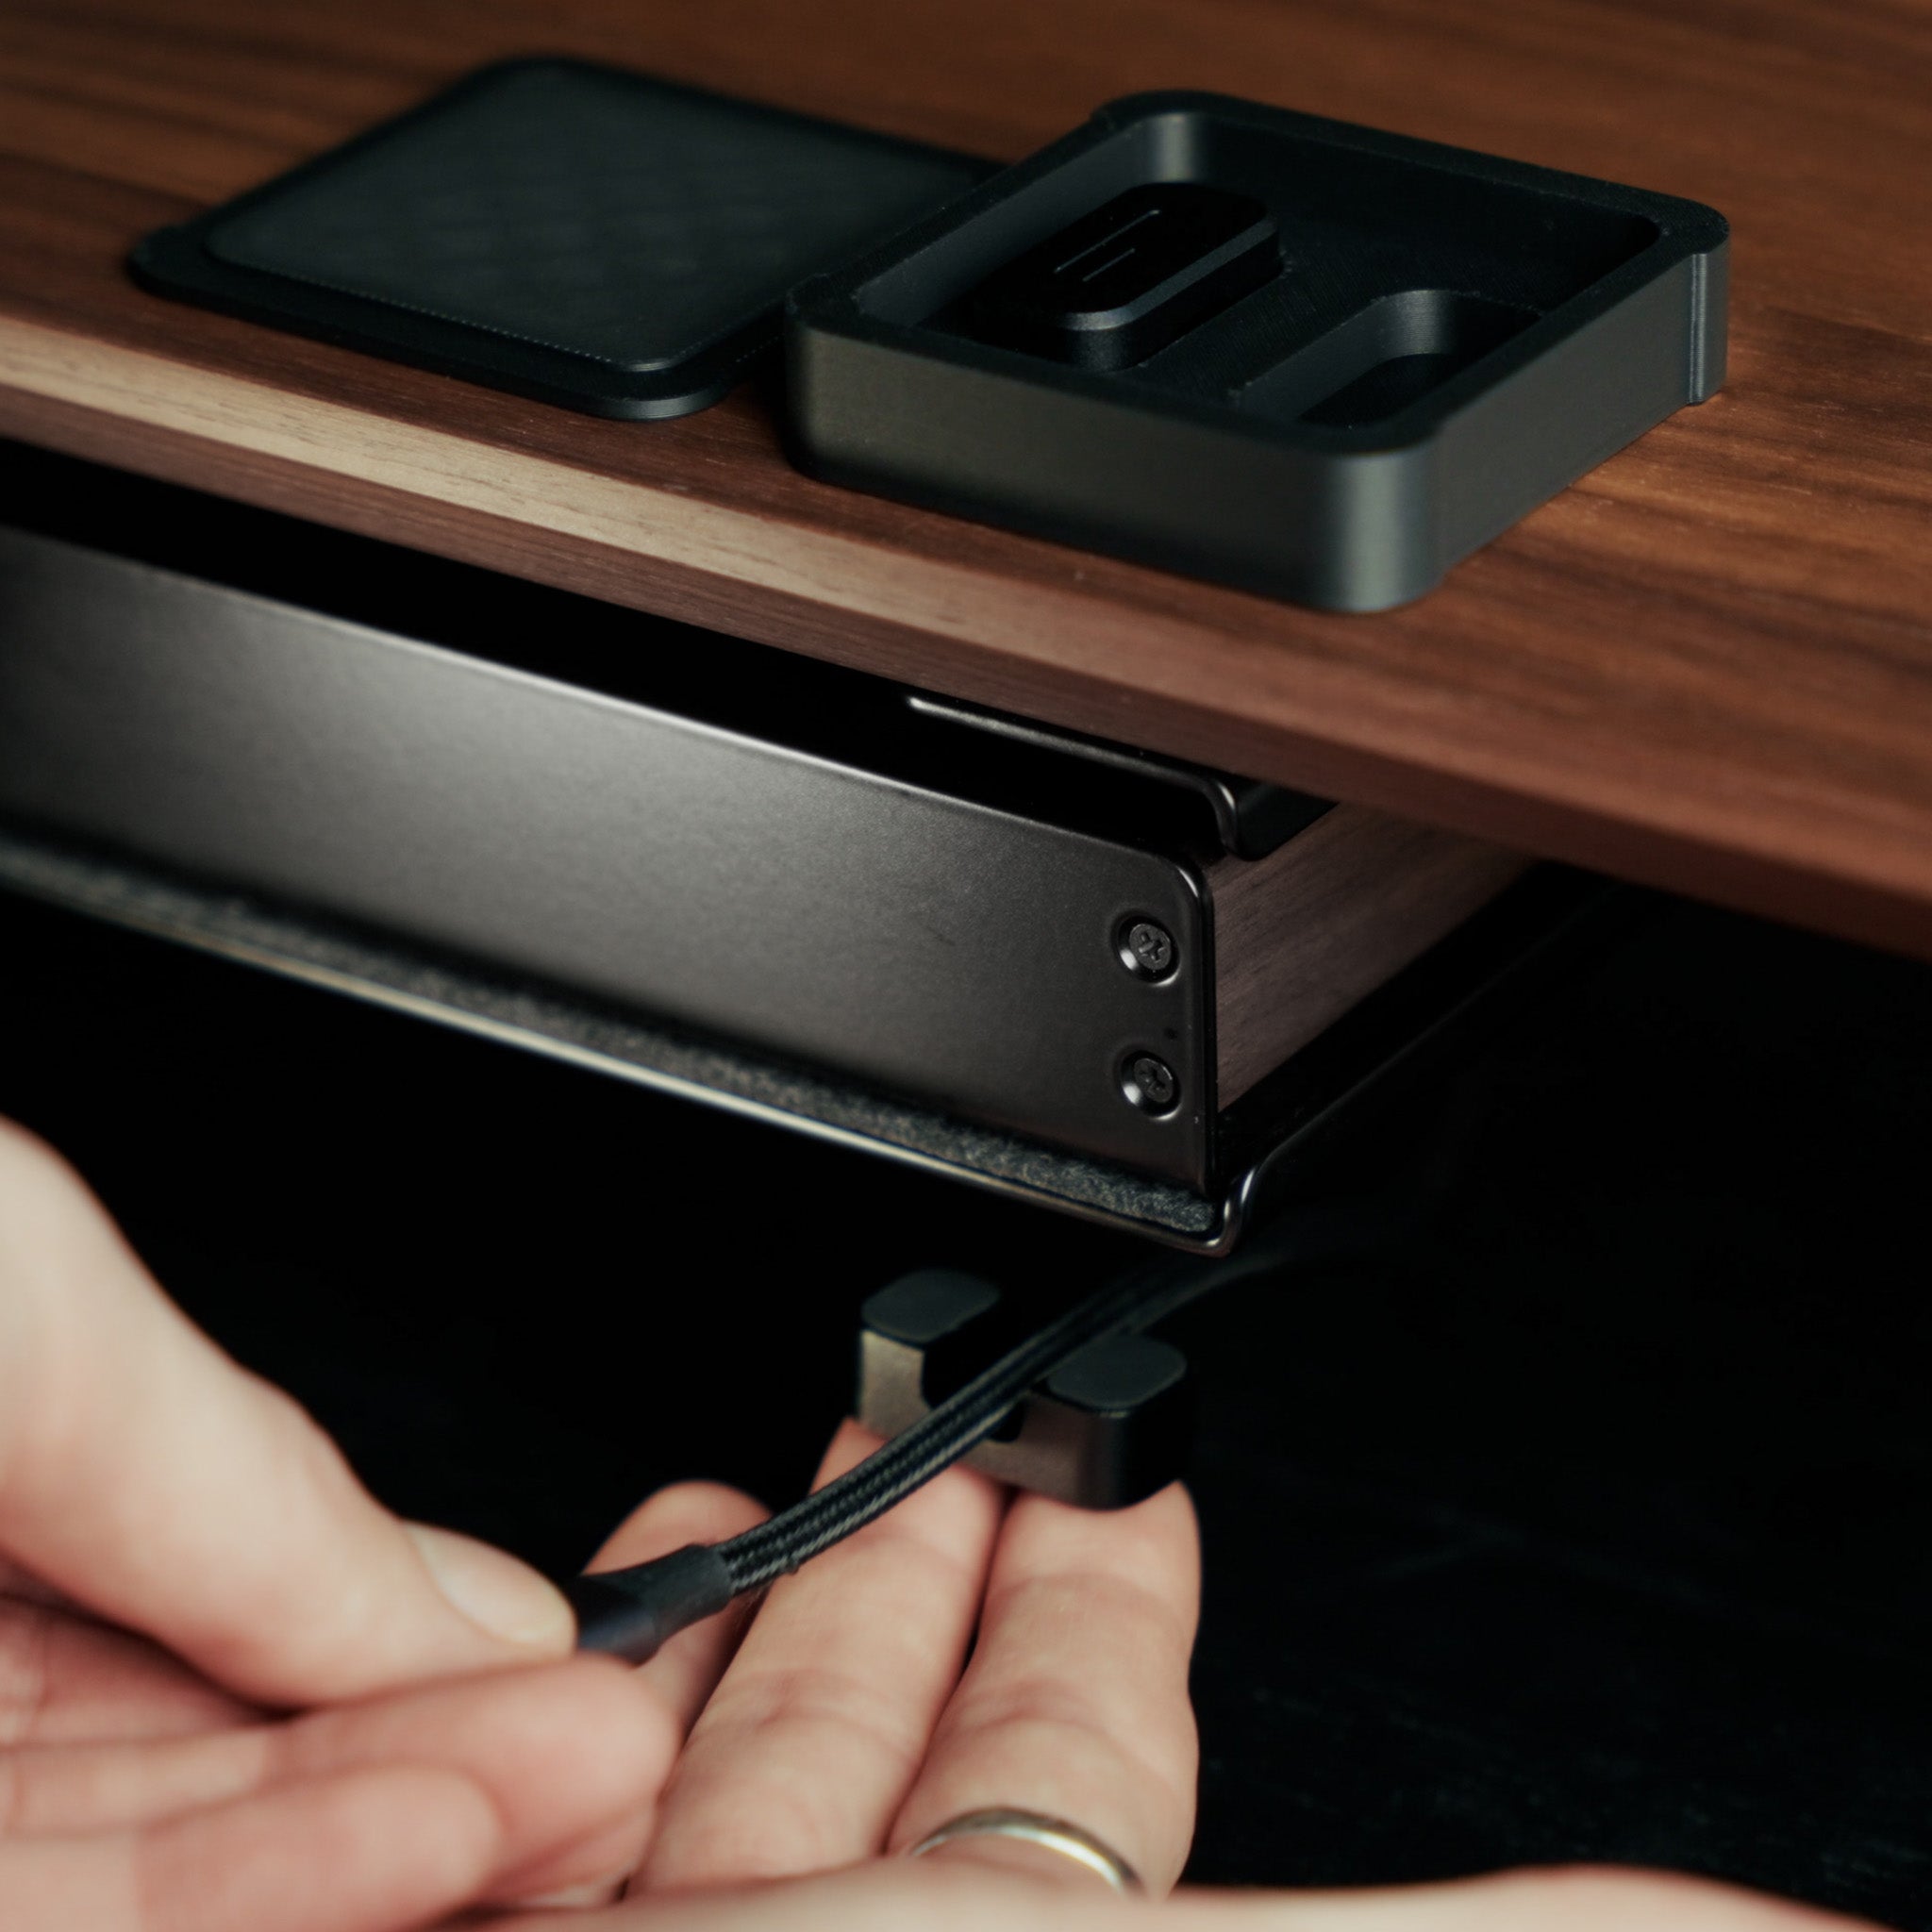
- Connect the power supply unit (F) to the power cable (G). Form a loop with the power cable and guide it through the recess on the underside of the power supply unit. Screw the power supply unit into the pre-drilled holes in the tabletop using the screws and washers (F).
- Connect the lifting columns to the power supply unit using the motor cables (G).
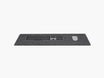
- Mount the control panel (H) in the pre-drilled holes in the tabletop on the left or right using the screws and washers (H) and connect it to the power supply unit.
- Turn assembled table over with the help of a second person and insert the magnetic plate (C).
Set up control panel
9. Download the Desk Connect app using the QR code on the control panel.
10. Connect via Bluetooth using the blue button on the underside of the control panel.
11. Activate automatic drive to set favorite positions.
12. Set favorite positions at the desired height. Switch between favorite positions with a double tap on the control panel.

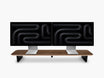
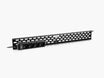
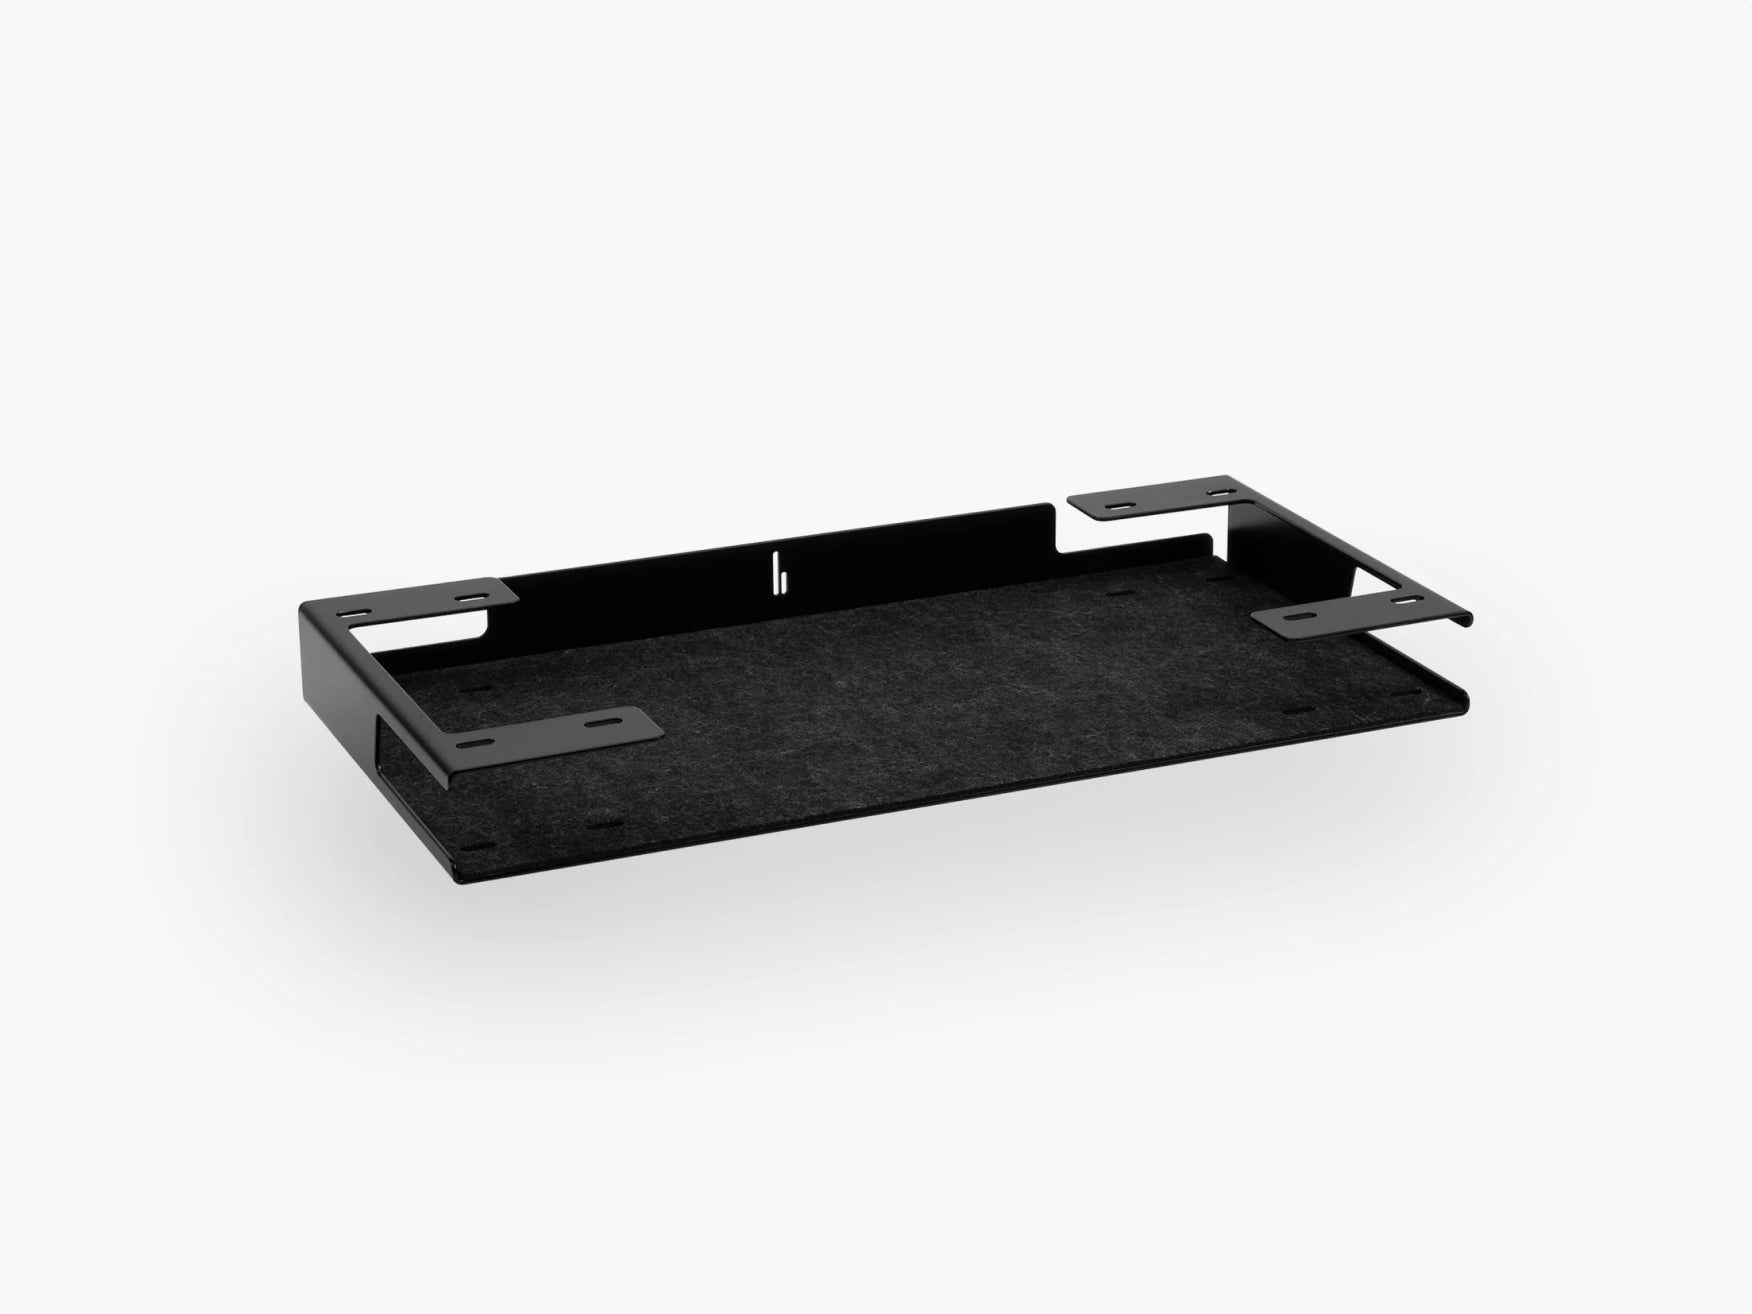
Instructions Cable Tray
1. Screw the brackets to the pre-drilled holes and hook in the Cable Tray.
2. When hooking in, ensure that not the entire Cable Tray is lifted up to avoid unhooking.
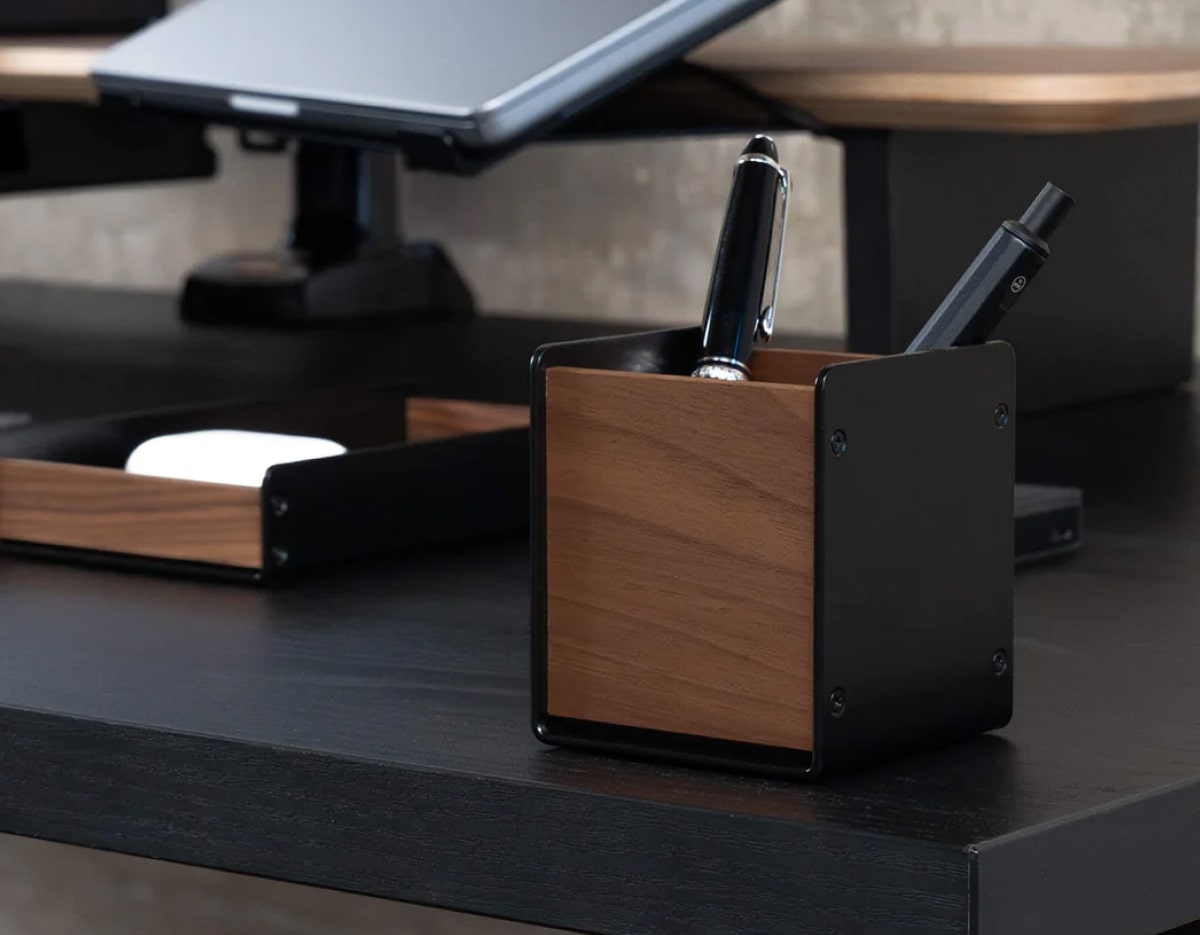
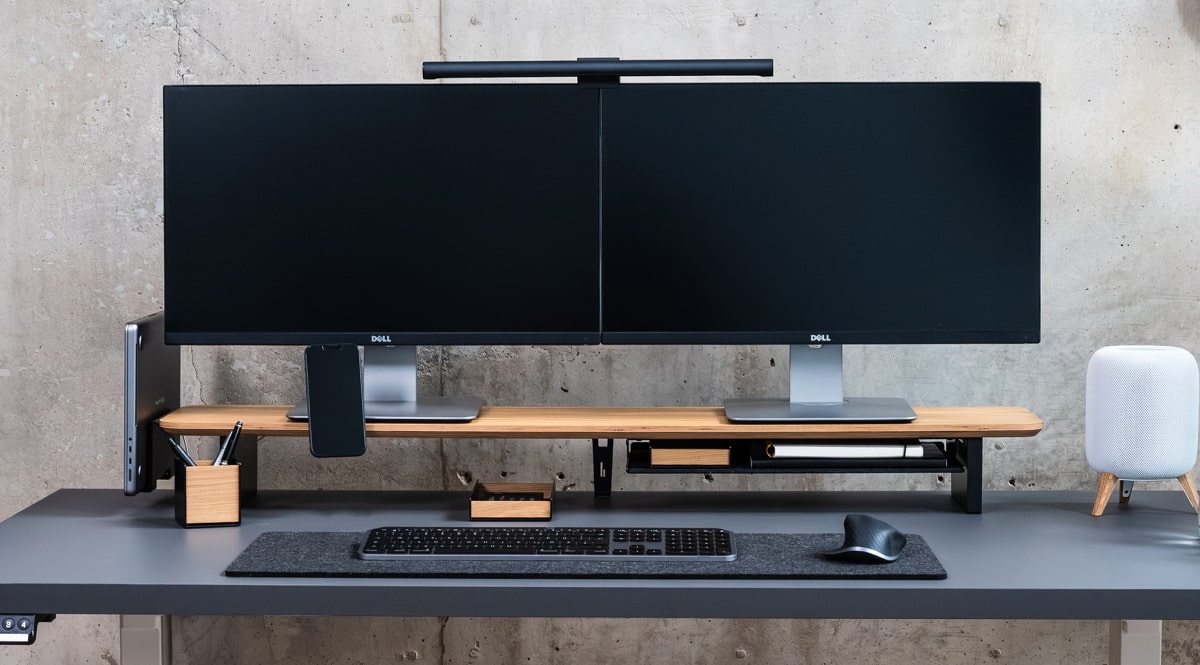
Everything you need for your desk
New
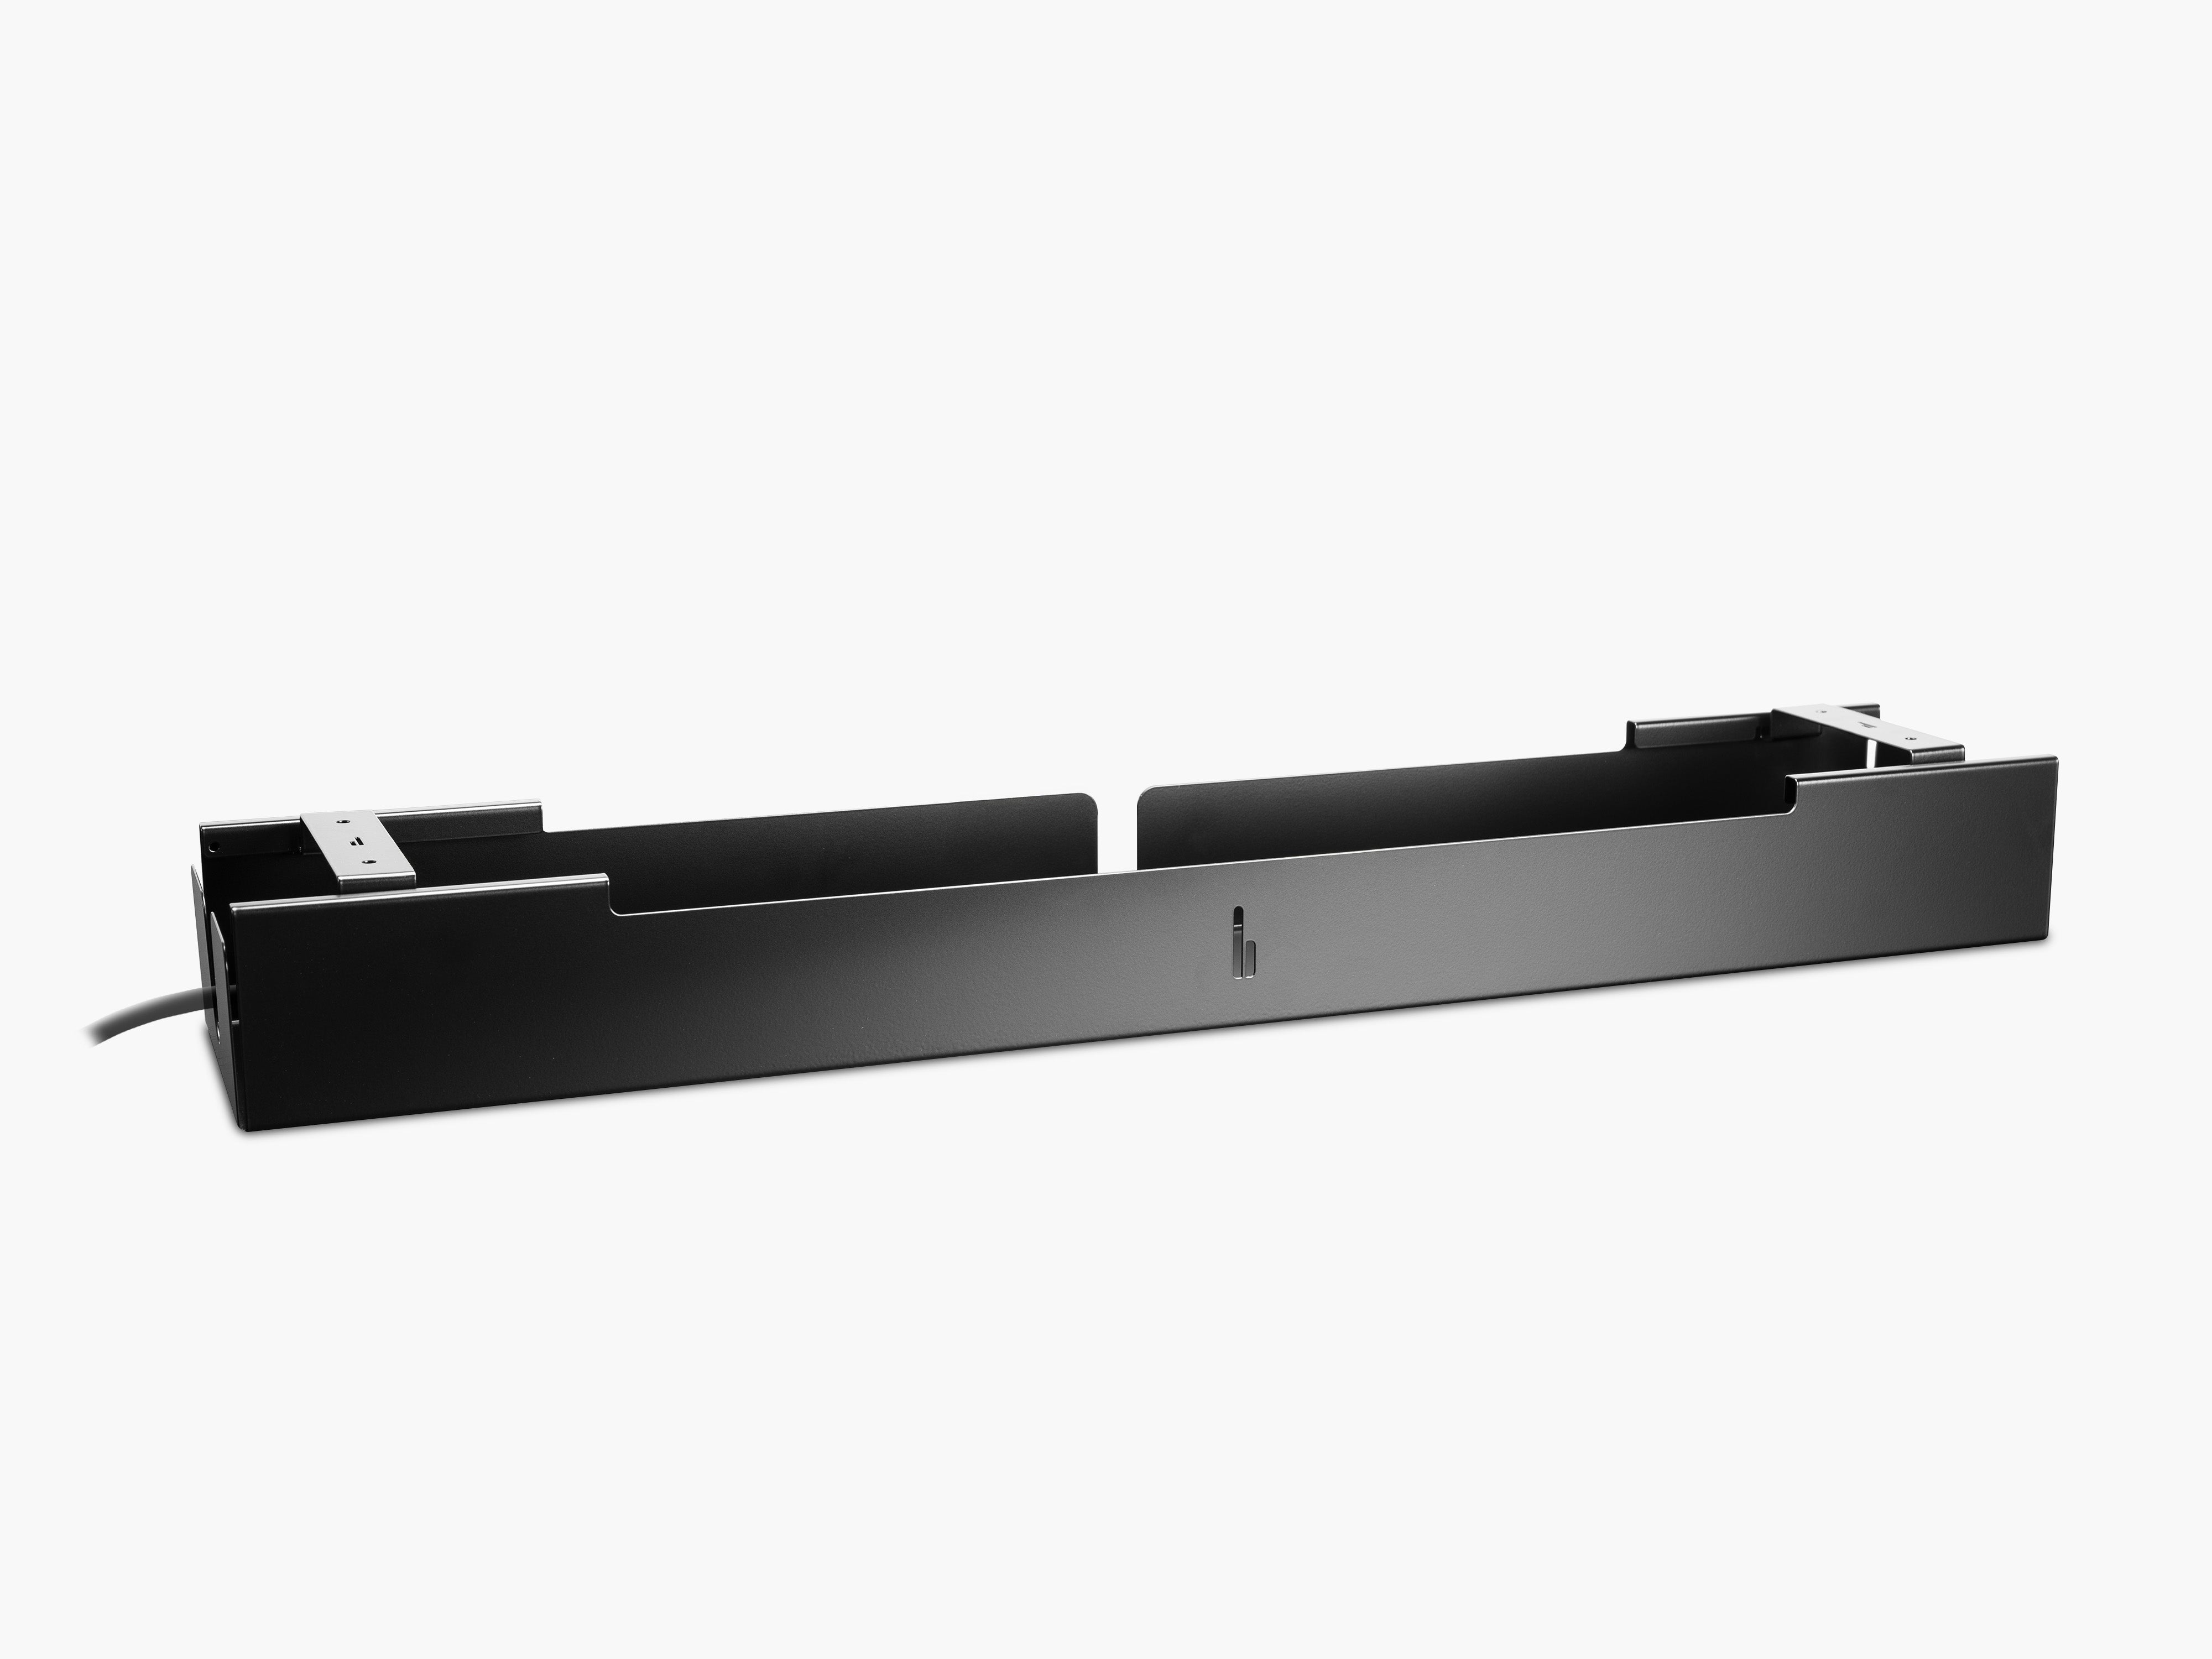

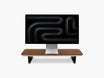
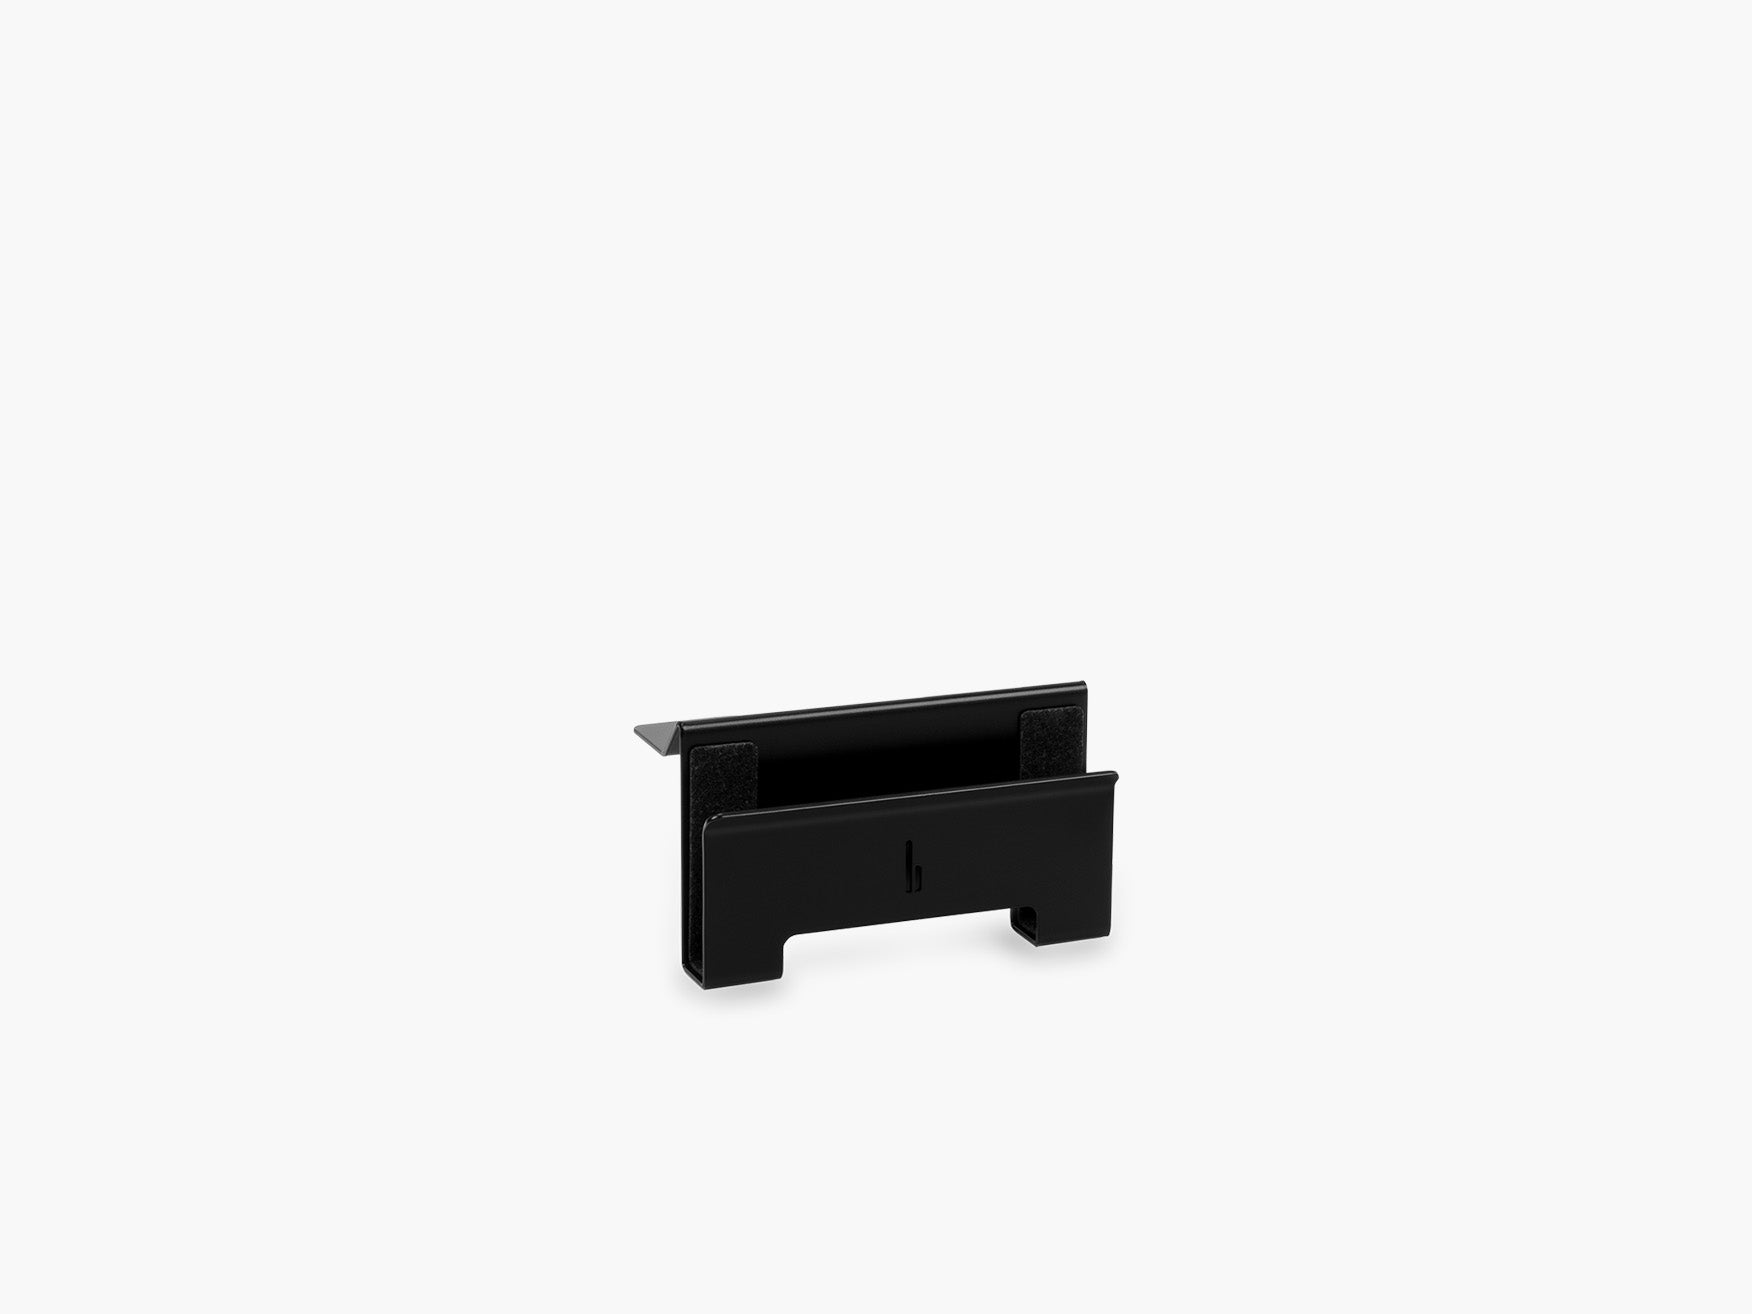
Cable Tray
Sale price119,90€ EUR
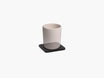
NewModular Add-ons
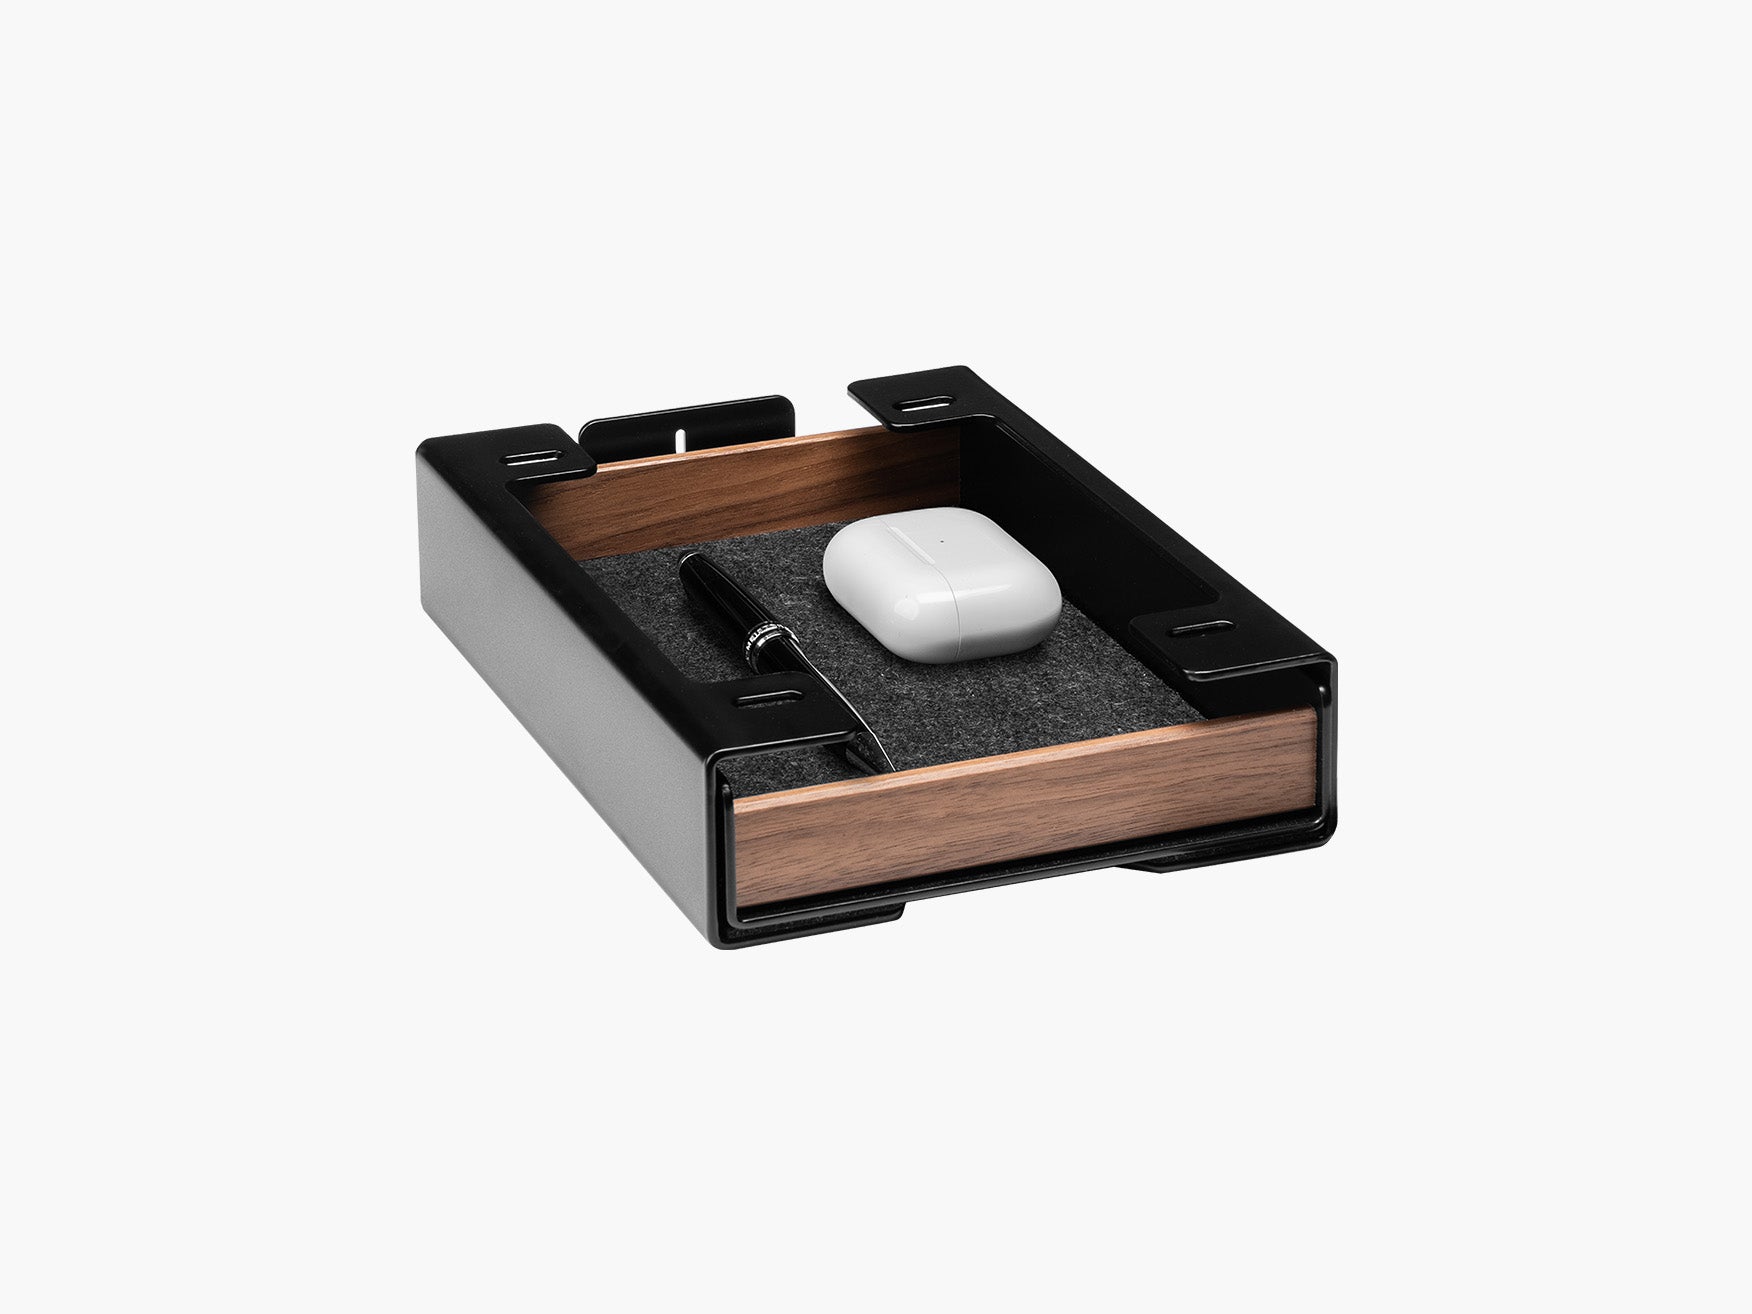
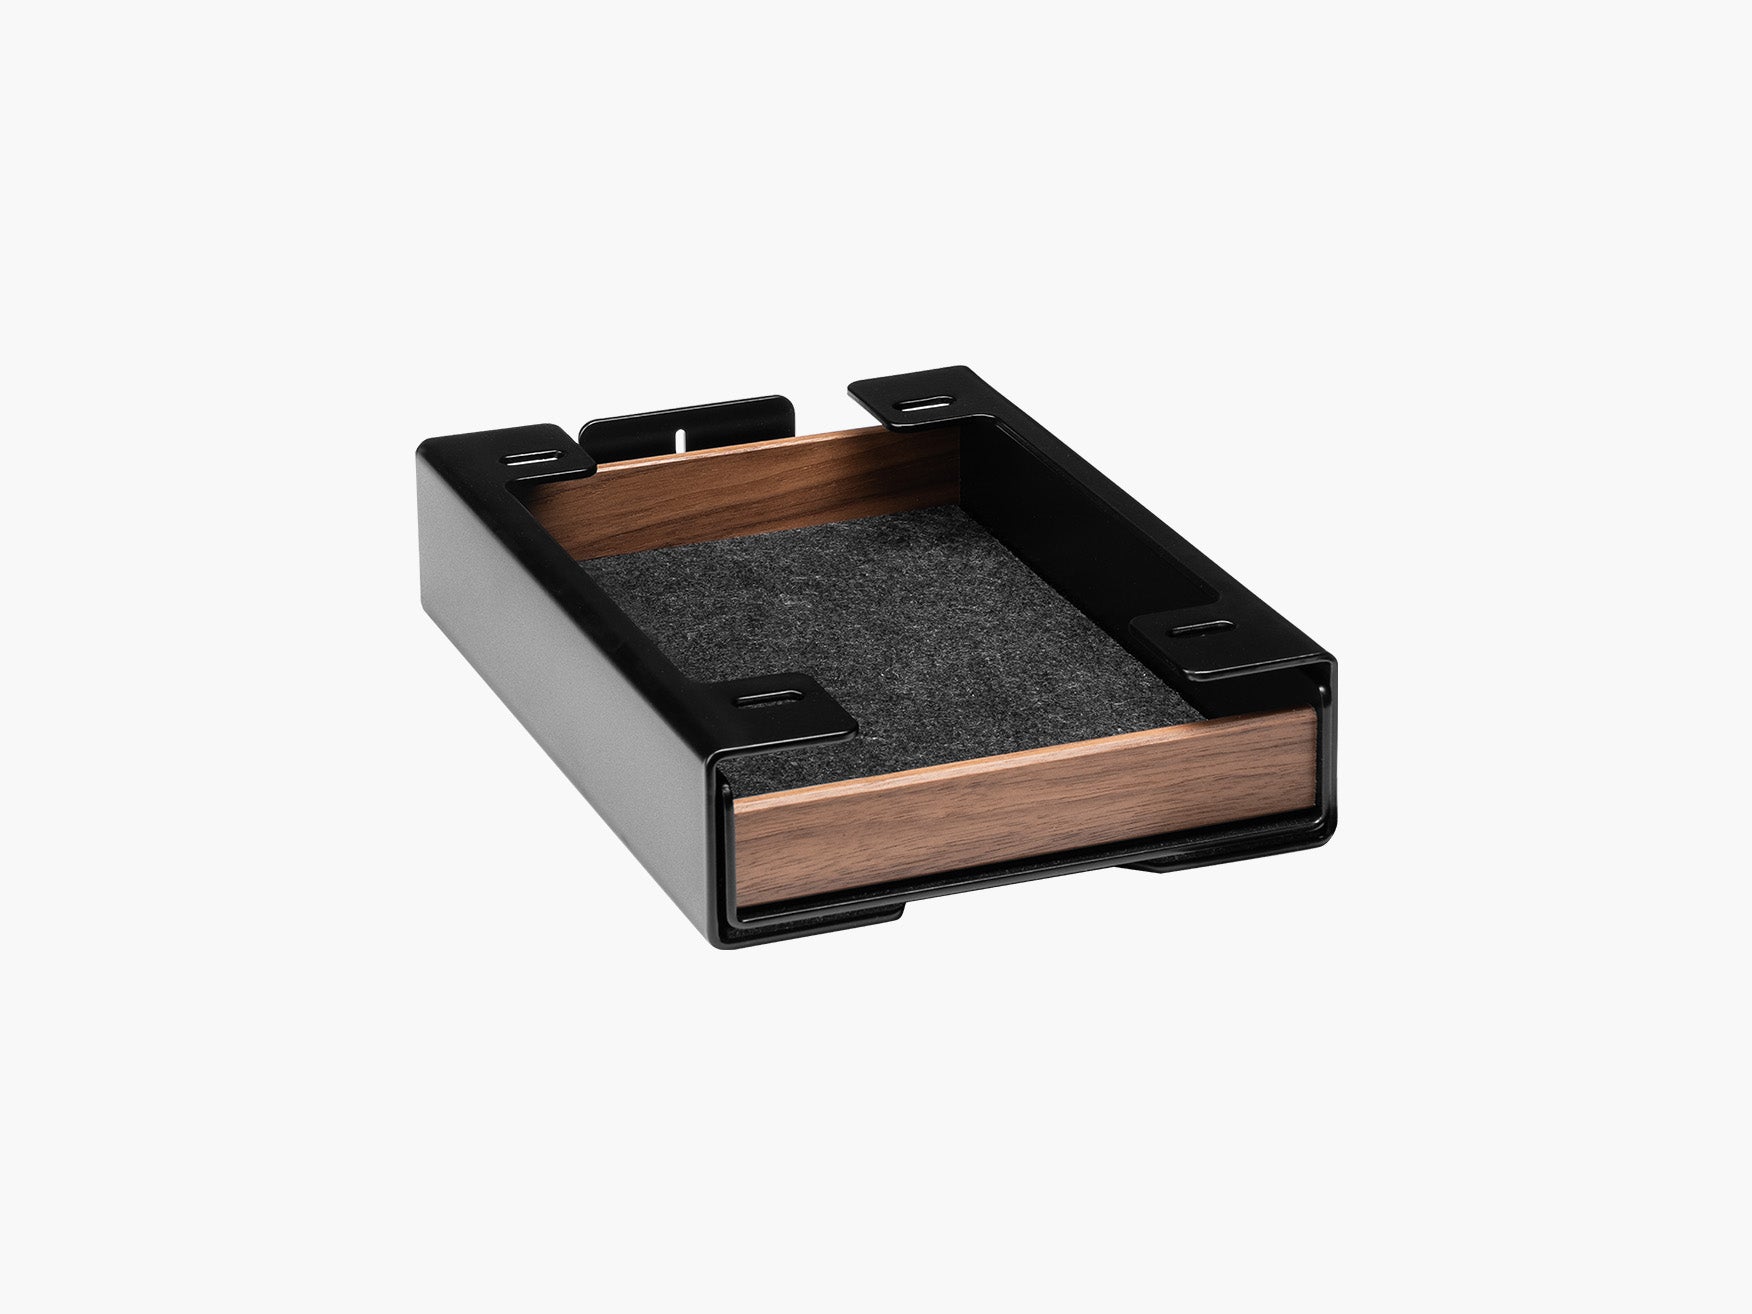
Tray Set
Sale priceFrom 99,90€ EUR
NewModular Add-ons
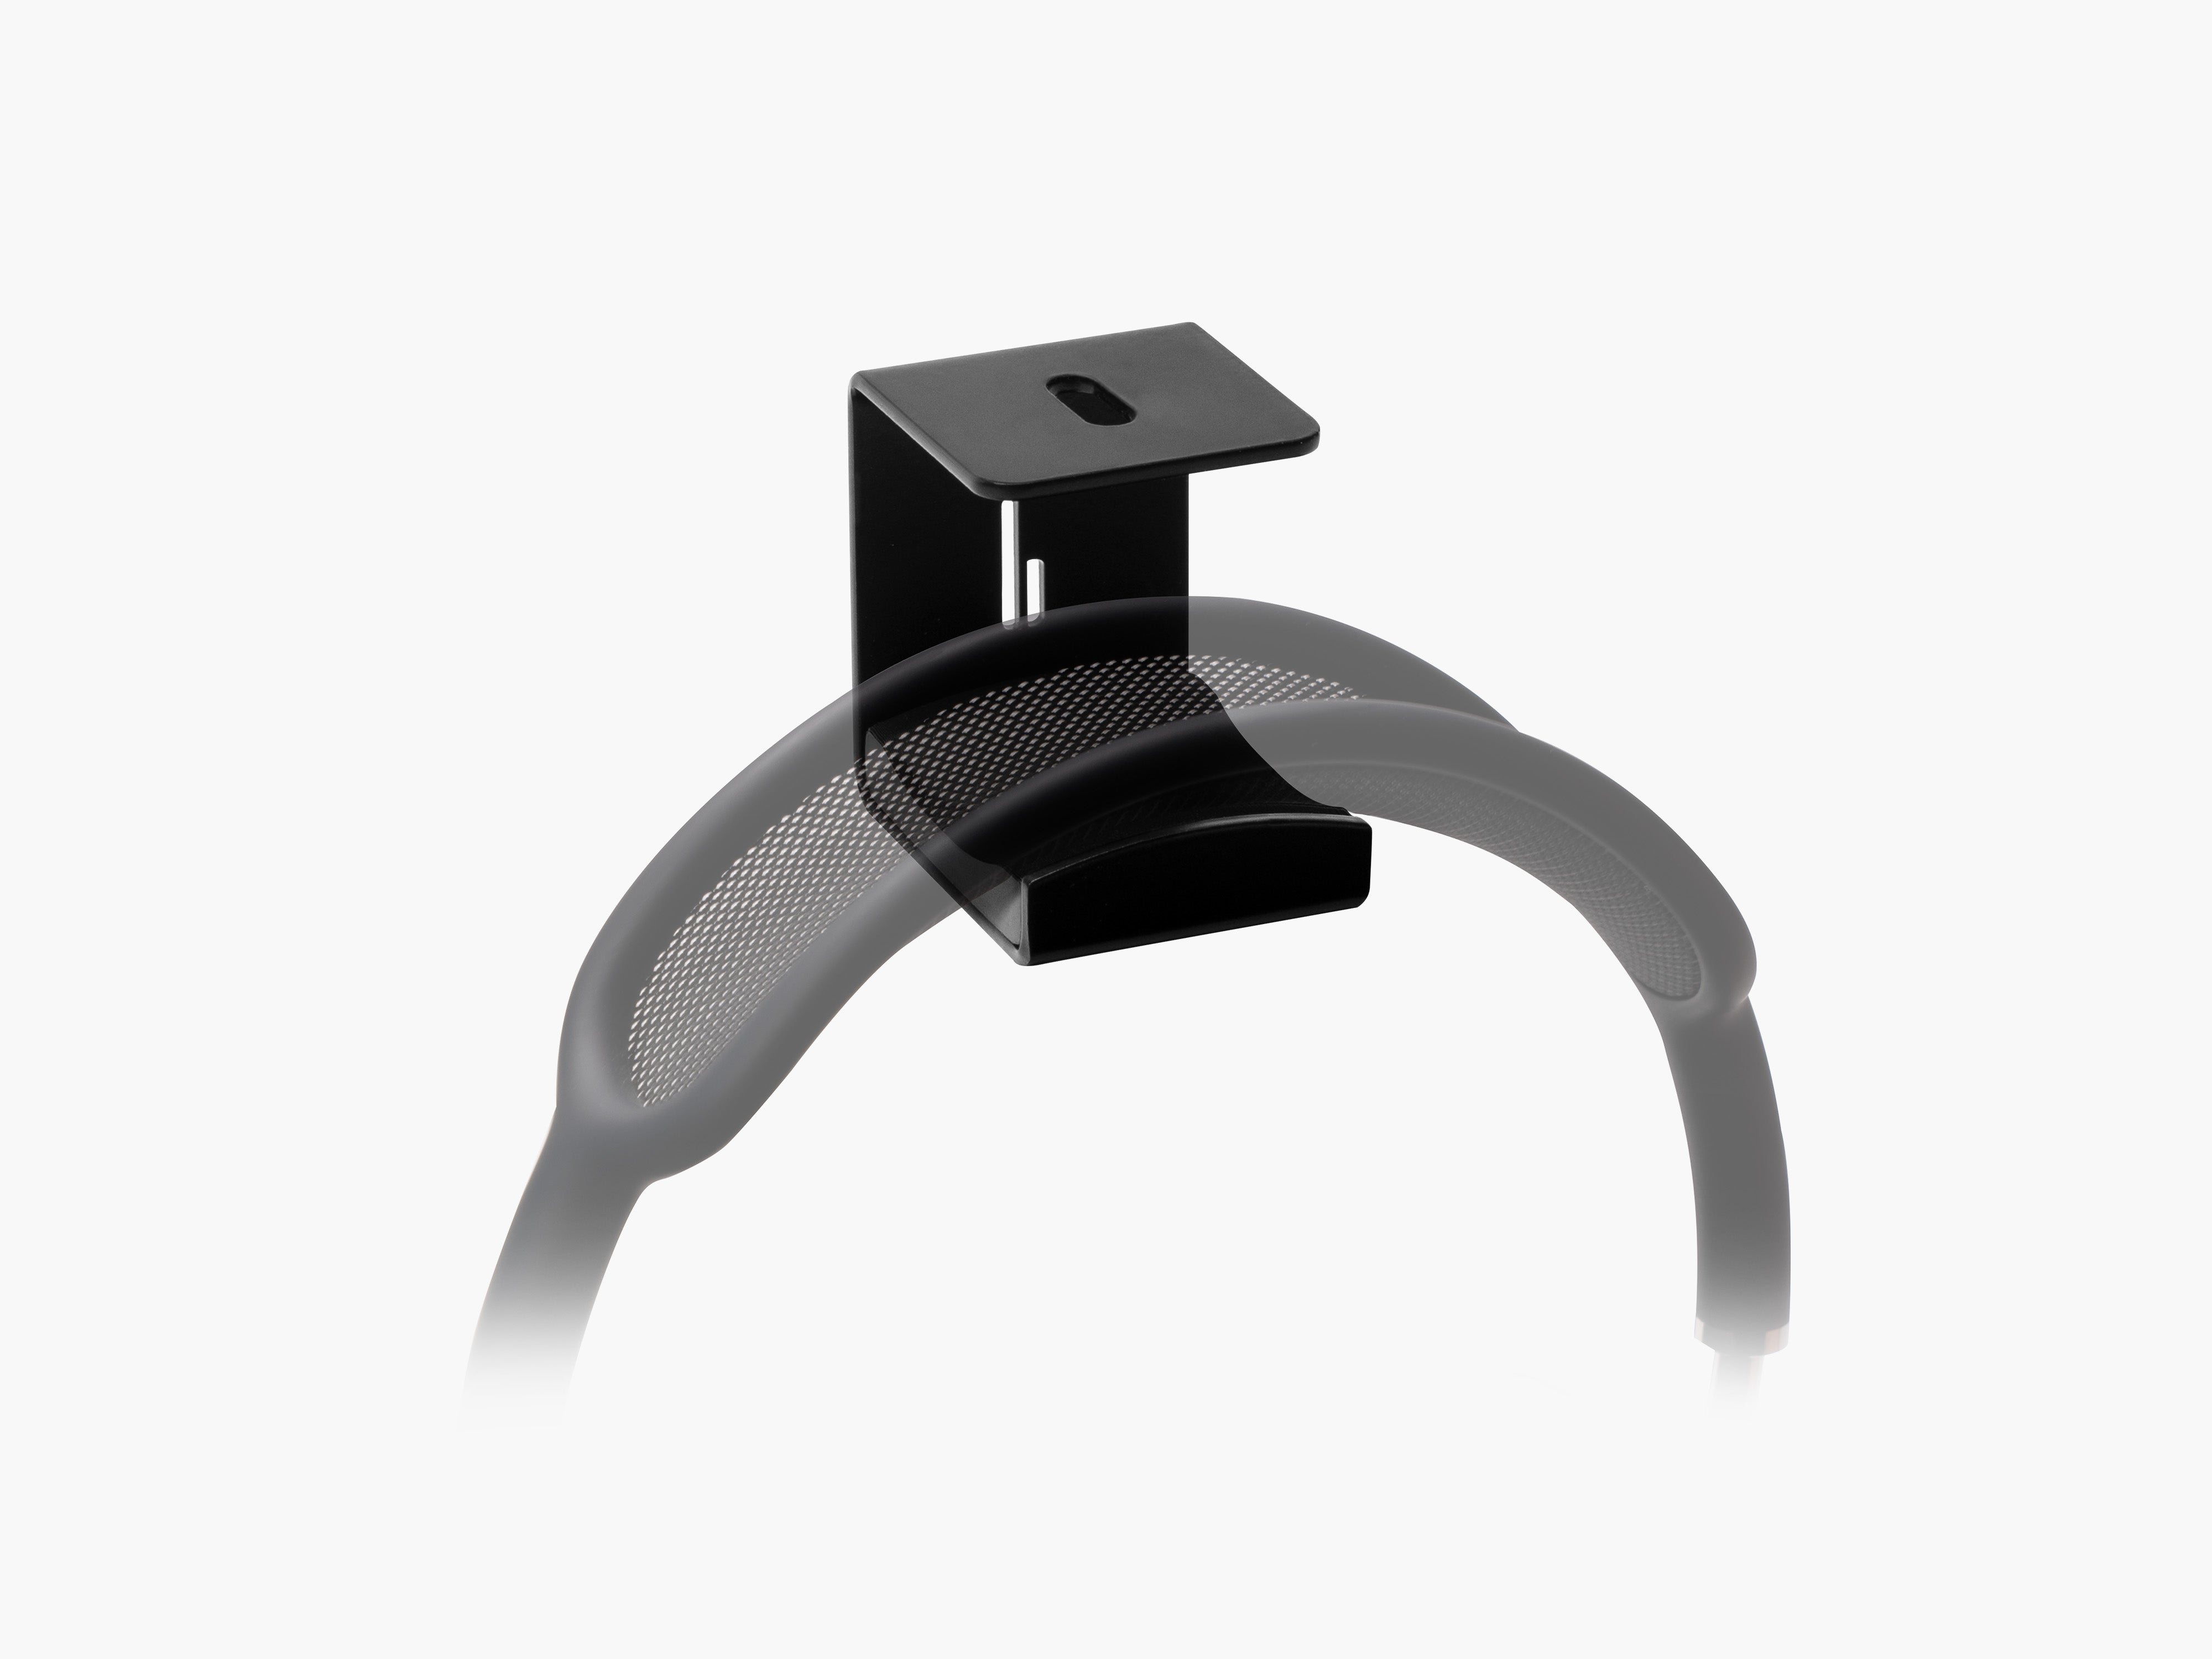
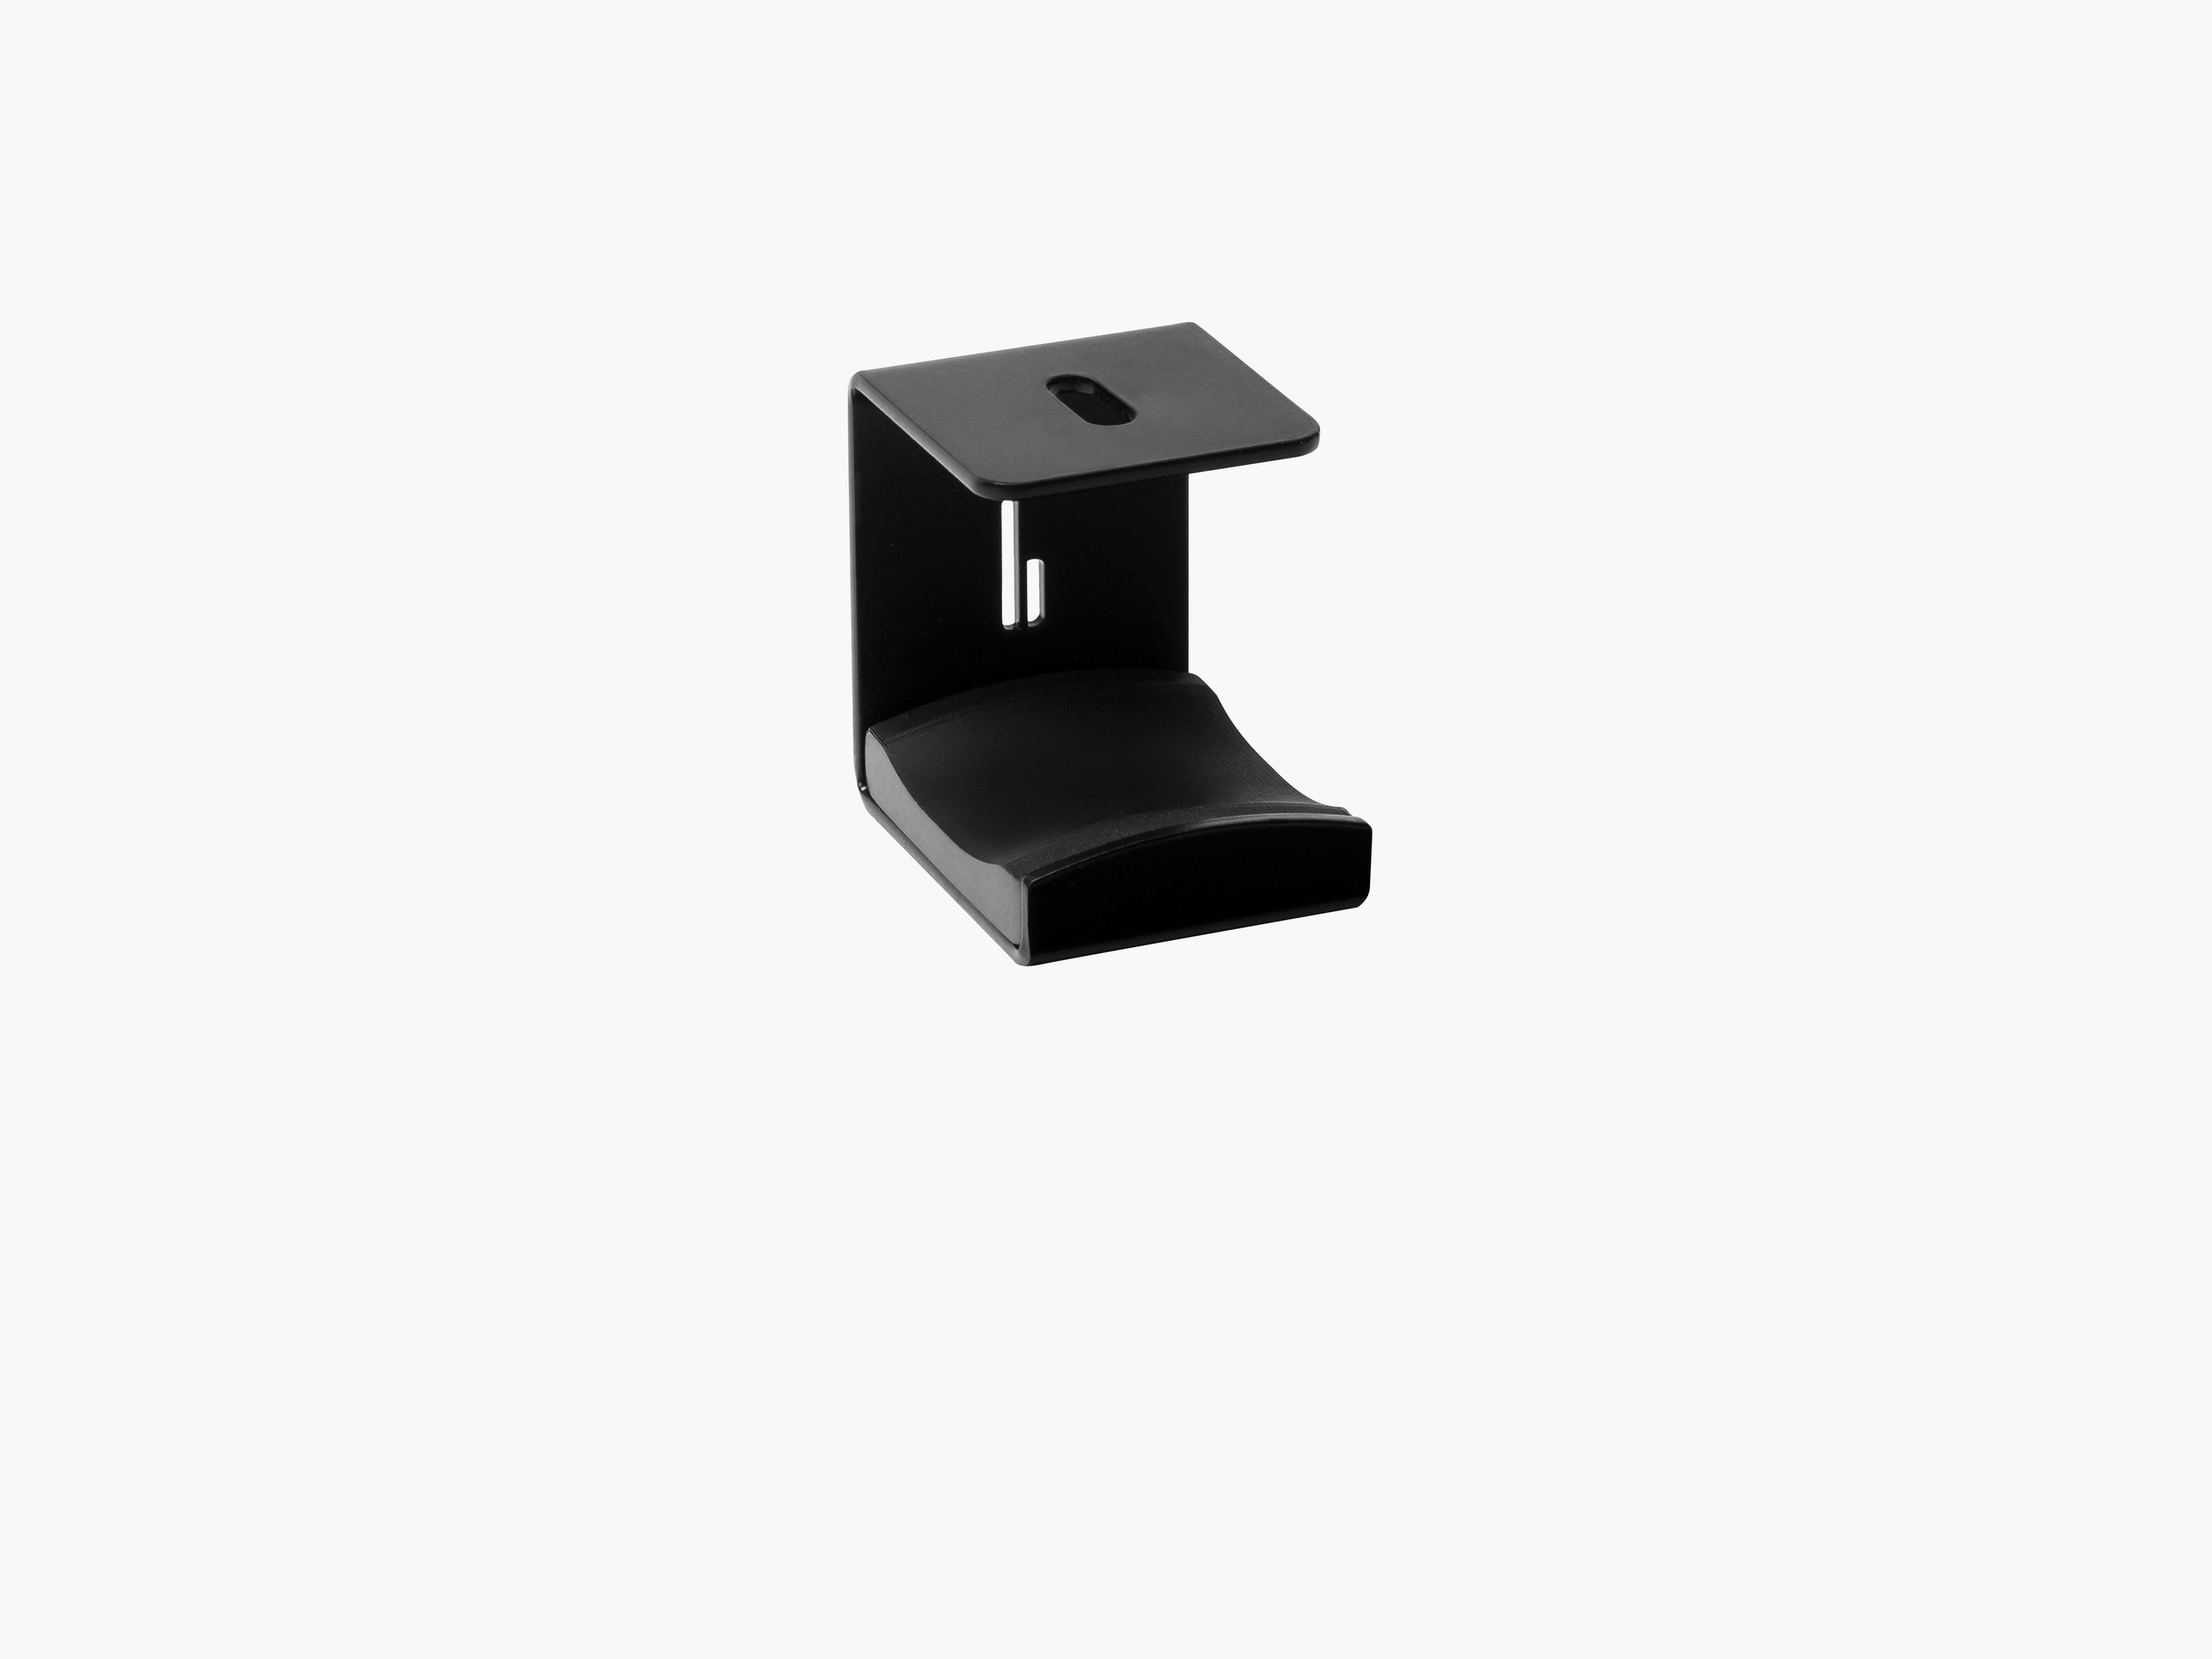
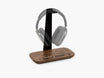
Headphone Hook
Sale price34,90€ EUR
Modular Add-ons
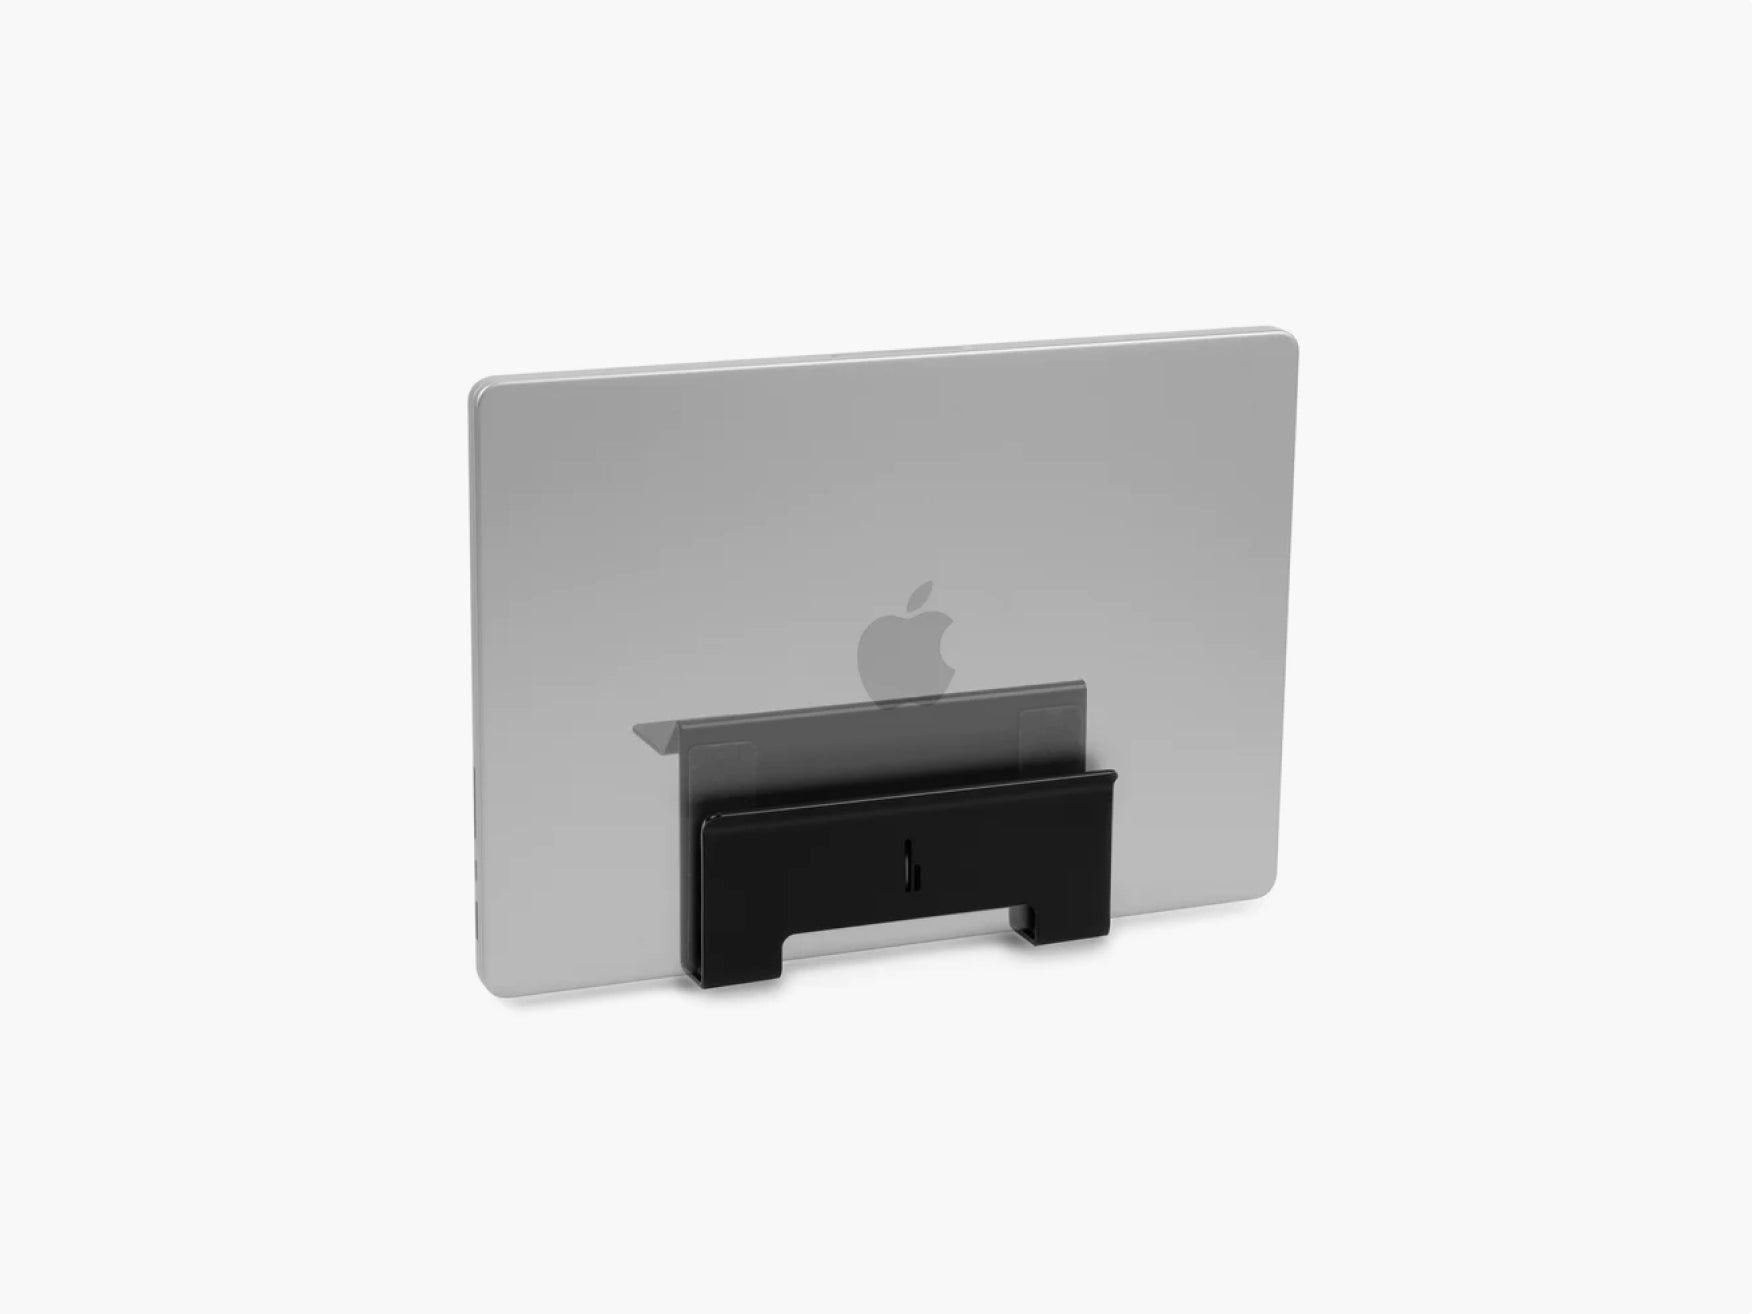
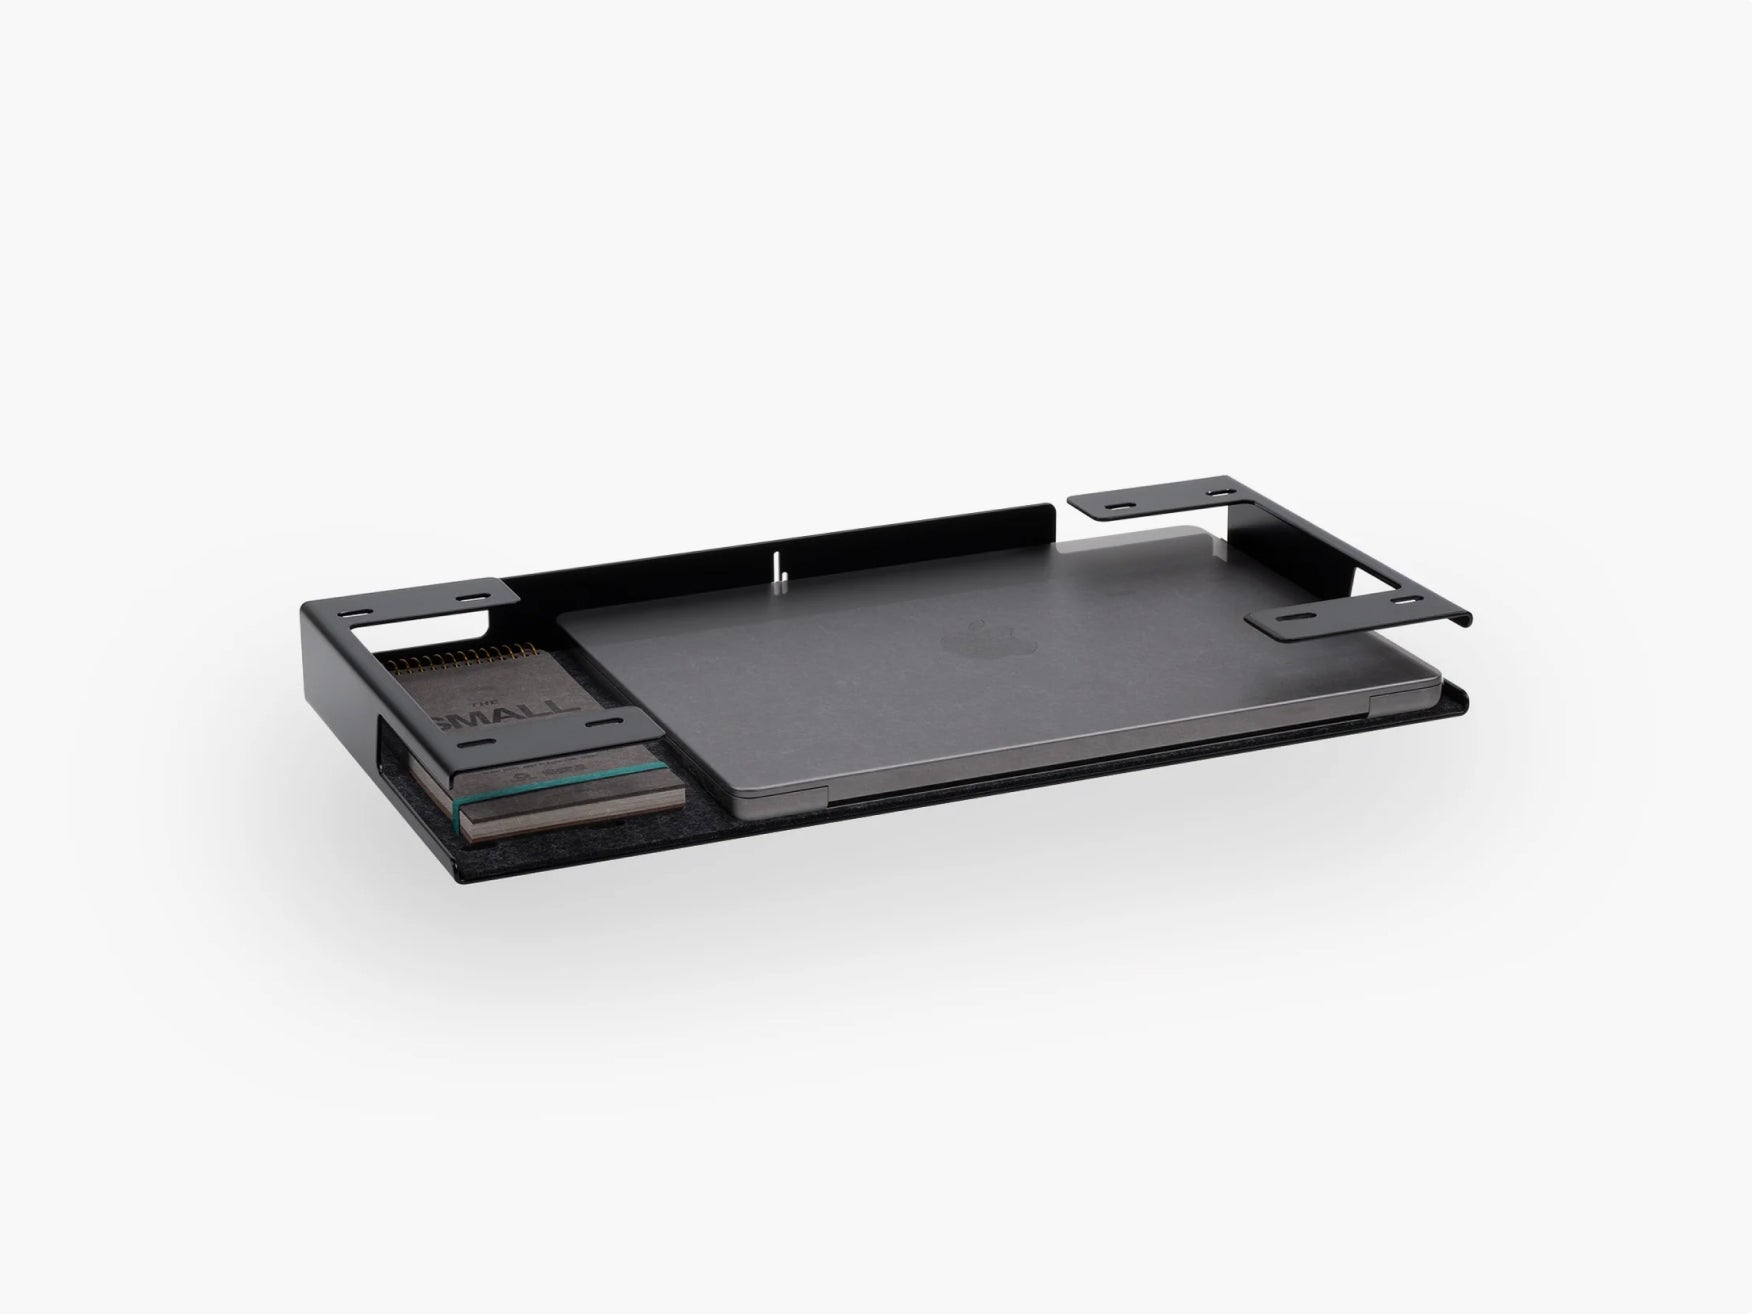
Laptop Dock for Setup Cockpit
Sale price49,90€ EUR
NewBest SellerLow Stock
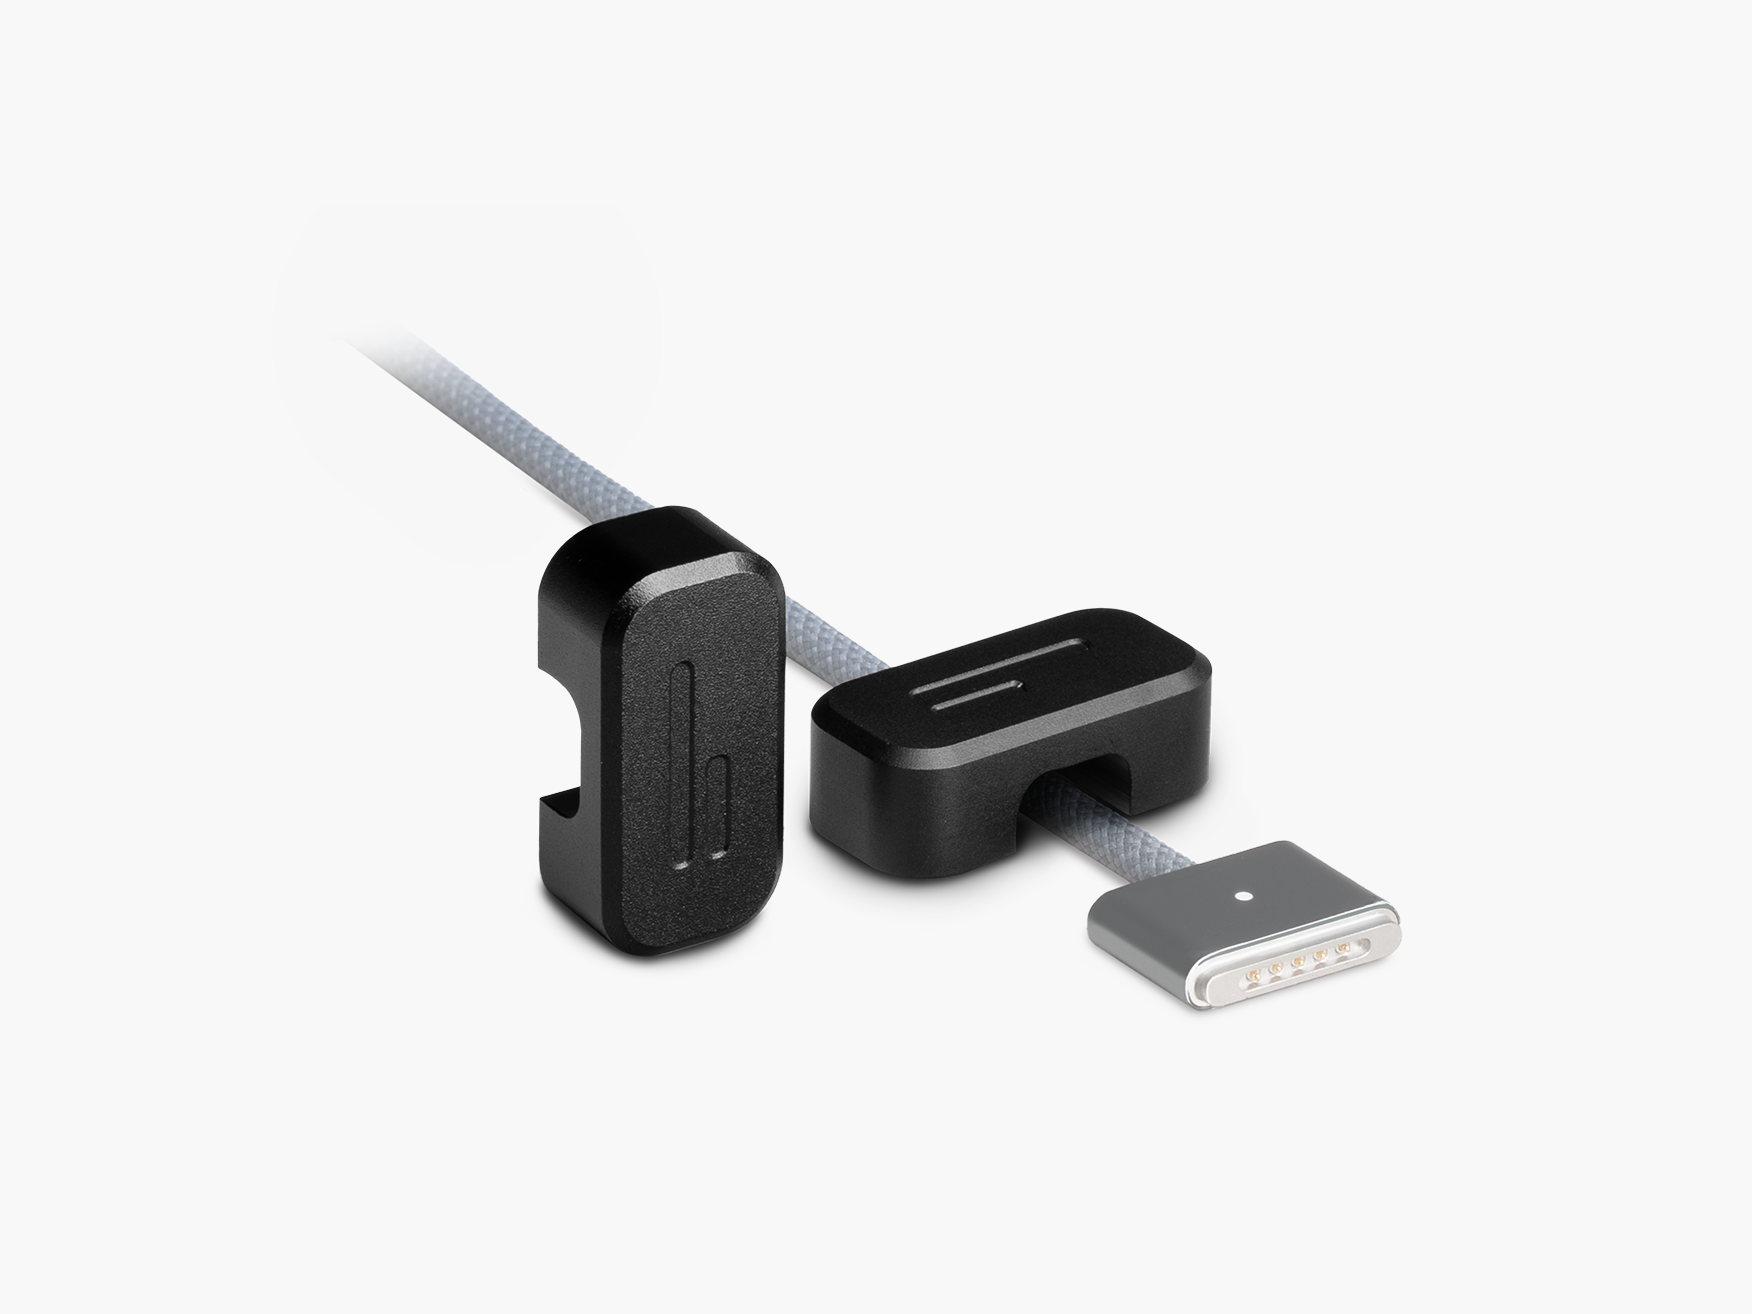
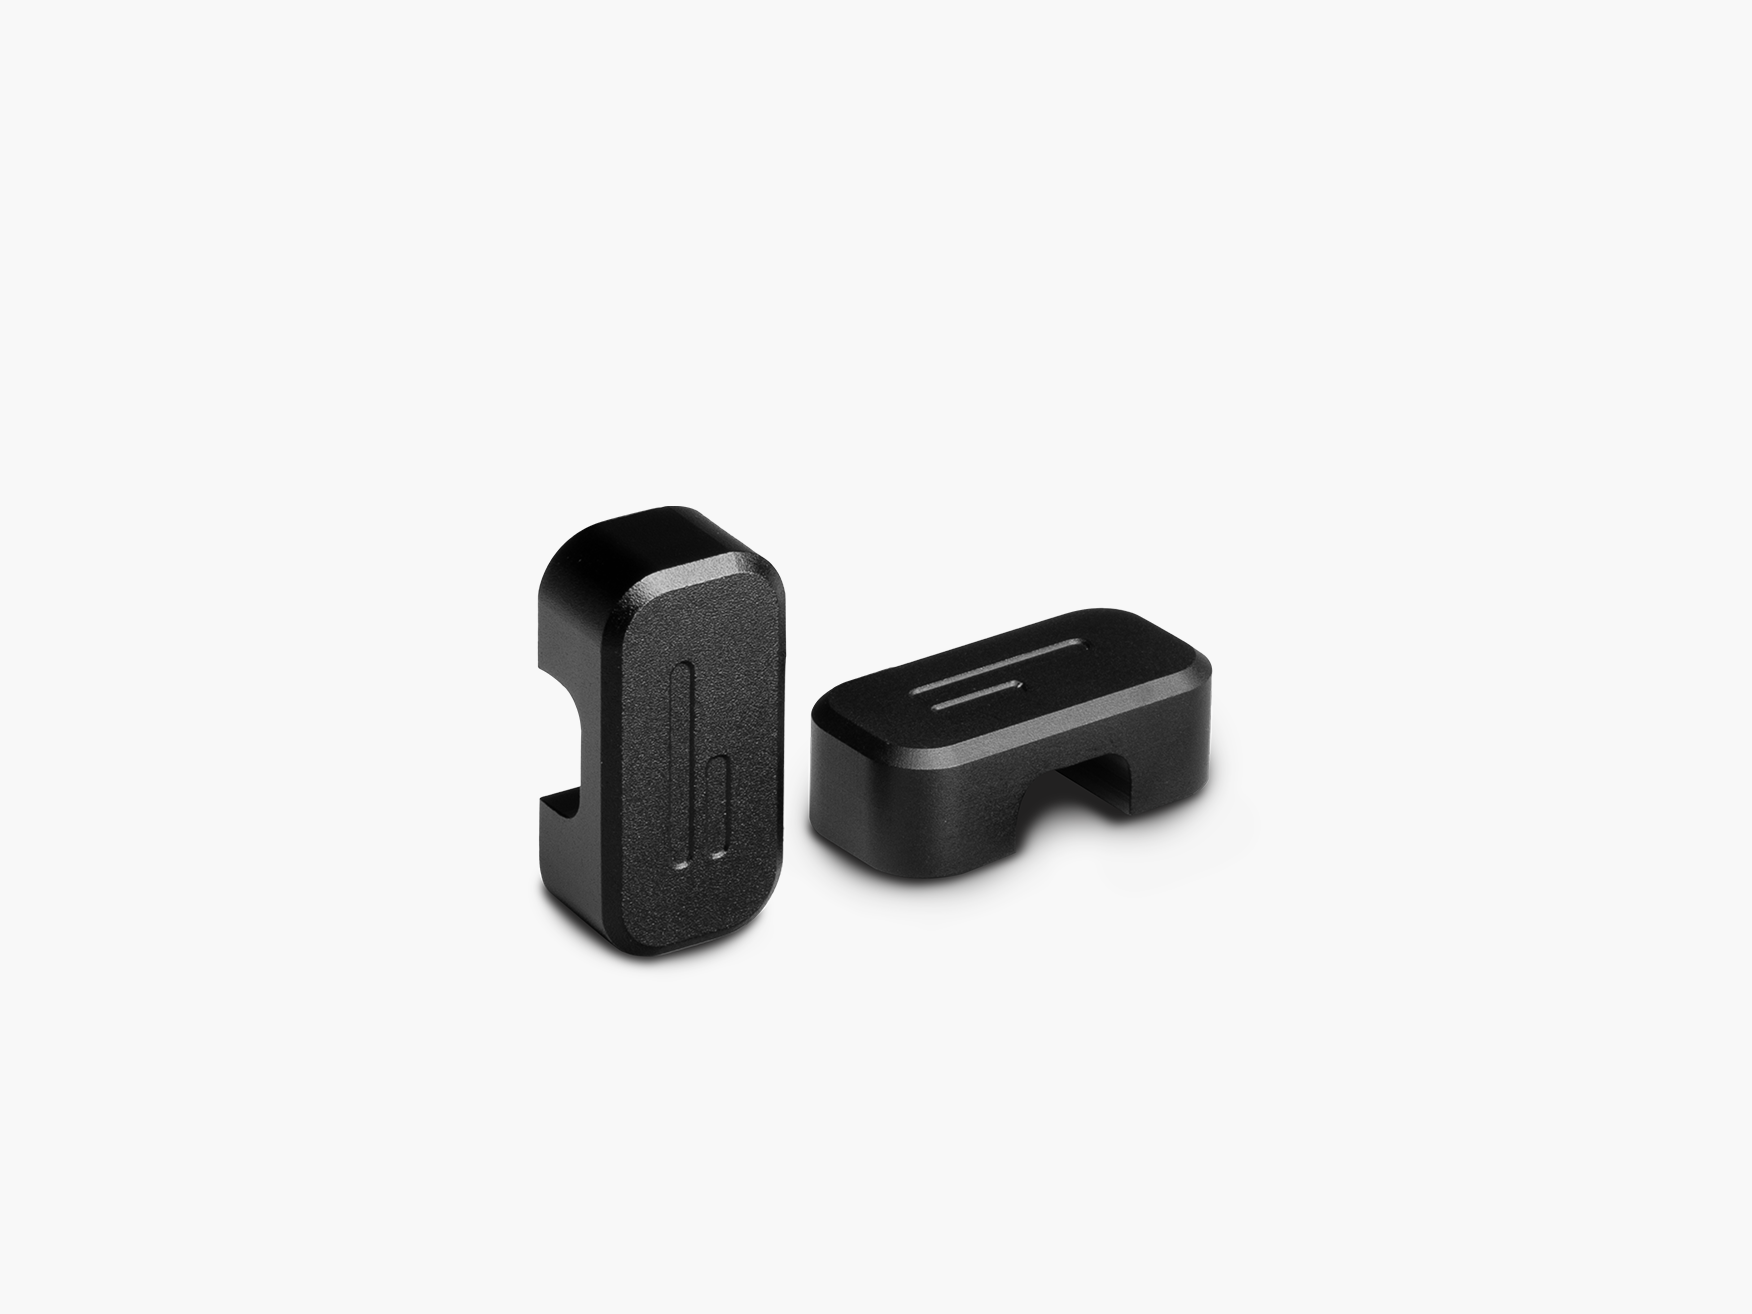
Cable Magnets
Sale price34,90€ EUR
Best SellerModular Add-ons
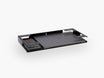
Large Tray for Setup Cockpit
Sale price79,90€ EUR